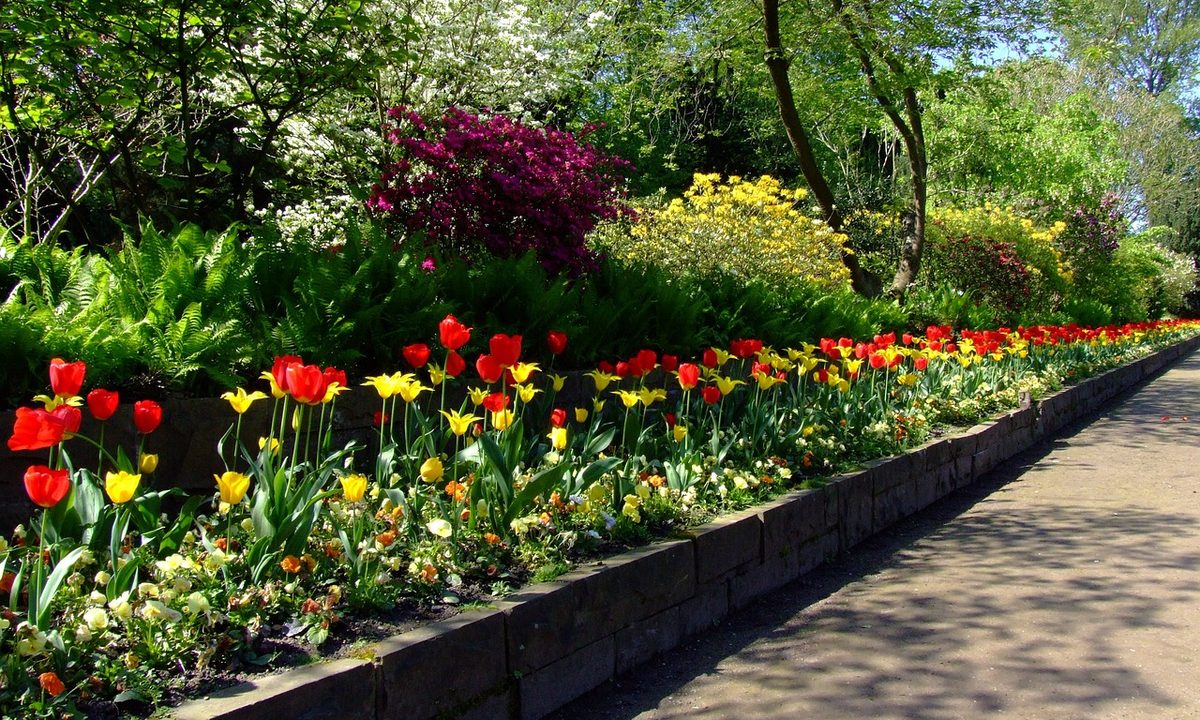
Flowers lift the spirit. They can brighten your home from within a vase or they can add splashes of color around your yard. Either way, vibrant flowers add beauty, color, and charm wherever they are. Whether you're ready to plant the best perennial blooms that you can enjoy for years to come, or you're looking for annual flowers that will bloom for a single season, you’ve come to the right place.
Planting flowers may seem like a daunting task, particularly if your green thumb hasn’t quite developed. Buying a bouquet is certainly easier than sowing new seeds, but learning how to garden is a rewarding experience. With these six simple steps on how to plant flowers, you can up your flower game and bring your curb appeal to the next level.

How to plant flowers: Planting from seeds vs. transplants
Gardeners often debate whether it's best to start from seeds or purchase already sprouted plants, but the method you choose is entirely up to you. That being said, it is important to consider the climate before deciding. A flowering plant takes about three months to grow from seed to flower, so if you live in a region with cold winters, you would need to start your seedlings indoors and then transplant them outdoors once the temperature is high enough. If you simply plant the seeds outside in the spring, you could risk not seeing any flowers at all and find yourself with a short growing season.
Luckily, most plant nurseries in your area will have seedlings available that have already sprouted and matured a bit. You just need to purchase them and transplant them when the temperature is right.

How to plant flowers: The first 5 steps
Whether you started your flowering plants from seeds or as young plants from the nursery, the transplanting process is the same.
Step 1: Read the label of your new plants to determine how much sunlight each species needs and how much space the roots require.
Step 2: Make a landscape design plan based on the plant's needs. For example, if your flowers need “full sun,” plant them in an area that gets 6 or more hours of direct sunlight per day. If your flowers need “partial shade,” however, position them in an area that gets between 4 and 6 hours of direct sunlight.
Step 3: Prepare your soil so the plant's roots have exactly what they need to grow and soak up nutrients. The roots of flowering plants need loose soil to grow and spread out, so use a garden spade to dig into and loosen up the soil.
Step 4: Ensure your soil is full of nutrients to promote healthy flower growth. Add compost or flower food to give your flowers the best chances.
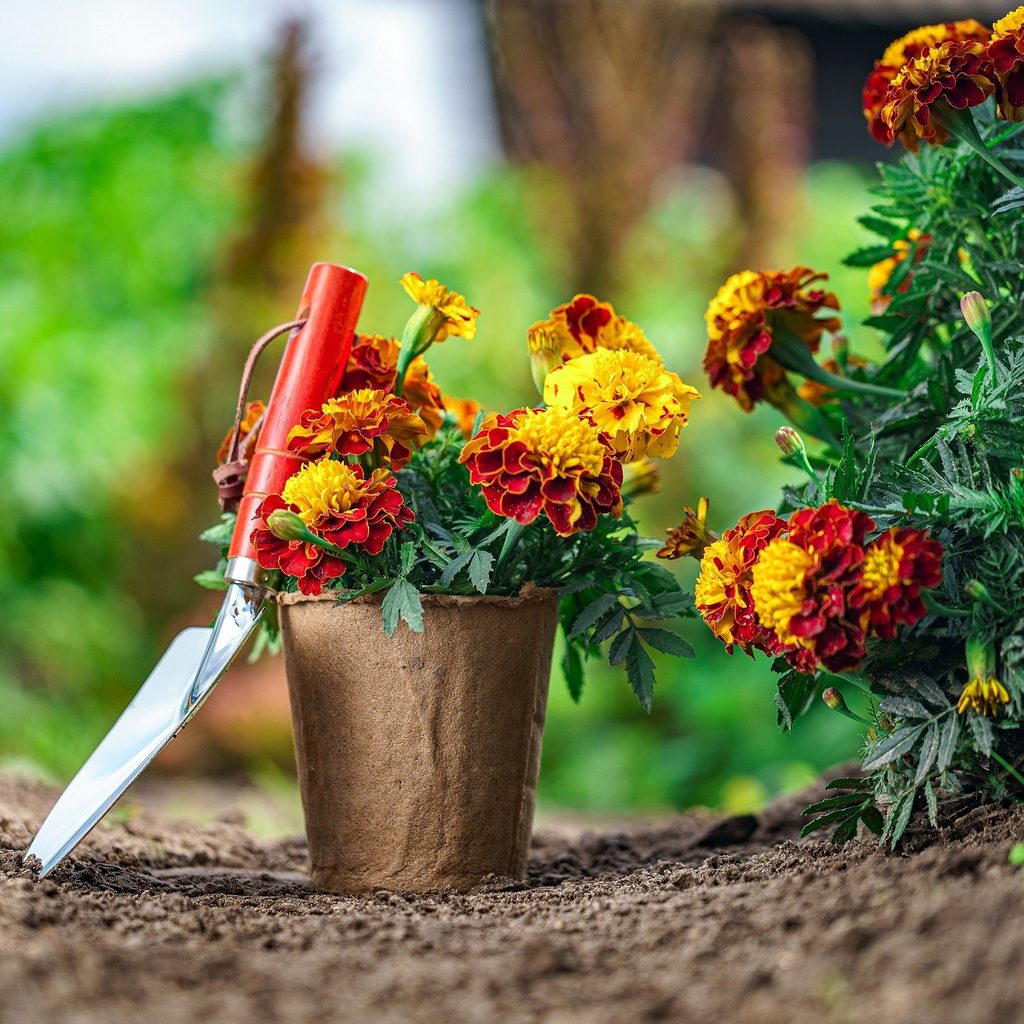
Step 5: Plant your seedlings carefully. Use your garden spade to dig a hole in the soil that’s roughly the size of the pot the plant is currently in. Then, carefully remove the plant and place it in the hole you created. Cover the top with soil and gently pressed down.

How to plant flowers: The final step (after-planting care)
Your flowers are safely in the ground, but it's not time to get comfortable just yet. The sixth and final step involves caring for your new plants and setting them up for success this summer.
Step 1: Give the soil a good soak with your garden hose immediately after planting. Follow the plant’s instruction label to determine how often to water throughout the season.
Step 2: Add a thin layer of mulch on top of the soil. This not only adds aesthetic appeal but also locks in moisture and prevents evaporation.
Step 3: Once your flowers start to grow, be sure to prune when appropriate. Use a pair of garden shears to carefully clip away dead leaves.
How do you plant flowers in pots?
Maybe you don't have the backyard space to plant a garden bed, and you, instead, have just a small patio design or deck to fill with blooms. Even if you're not planting in the ground, much of the process is similar to what we’ve already covered. However, there are a few additional steps for successful potted plants.
Step 1: Choose a pot that’s big enough for your flower’s roots to expand. It’s also important that your pot has a drainage hole at the bottom to prevent root rot.
Step 2: Line the bottom of your pot with rocks to promote good soil drainage. Add some potting mix on top of the rocks so that the plant will be tall enough and still have its roots under the soil line.
Step 3: Water your newly potted flower plant generously and place it in an area that gets appropriate sunlight, according to the plant’s label. Gently press the soil down.

What fertilizer makes flowers bloom?
The best fertilizer to make flowers bloom is one that’s high in phosphorus, the nutrient responsible for promoting strong roots and vibrant blossoms. Look for fertilizers labeled with a higher middle number in the N-P-K ratio, such as 10-20-10. Phosphorus encourages bud development and helps flowers reach their full blooming potential.
In addition to phosphorus, a balanced blend of nitrogen and potassium supports overall plant health, ensuring lush foliage and disease resistance. Organic options like bone meal, compost, and fish emulsion can also stimulate blooming naturally. Always follow package instructions, and avoid over-fertilizing, as this can lead to excessive leaf growth instead of flowers.
Whether you’re planting seeds in your garden, seeding plants in a flower bed, or creating a gorgeous potted flower garden on the patio, you want those beautiful blooms to bring color and life to your home for as long as possible. Healthy, flourishing flowers start with a healthy planting process, and these tips will ensure you have a colorful garden throughout a long and fruitful season.


