Painting is one of the easiest ways to transform a dull space, like your basement or other room that needs it, giving it a fresh new look and feel without a massive budget. But if you’ve ever wondered how to paint a room properly, you’re not alone. It’s not just about slapping layers on the walls — preparation and technique are key to achieving professional-looking results. That’s why we’ve put together this step-by-step guide to make your next painting project a breeze.
Make a plan

Before diving into your painting project, take a moment to create a solid plan. For example, choosing the right paint color is critical — consider the room’s purpose, lighting, and existing decor. You should also test some paint samples on your wall to see how they look at different times of the day.
Beyond color, decide whether you want a matte, gloss satin, or semi-gloss finish, as each affects the final look and feel of the space. Timing is another crucial factor. Painting a room can take anywhere from a few hours to a full day, depending on the size and the number of coats required. Be sure to plan for a time when the room can be off-limits, especially if it’s a high-traffic area.
Also, gather all your tools — paint, brushes, rollers, painter’s tape, drop cloths, and primer — before you start. Having everything ready ensures a smoother process.
Prepping a room for painting

Proper preparation is the foundation of any great paint job. Here’s how to prep.
Clear everything out
Start by clearing the room of as much furniture as possible. If moving everything out isn’t an option, push items to the center and cover them with drop cloths to protect them from paint splatters. Remove any wall decor, outlet covers, and light switch plates.
Clean the walls
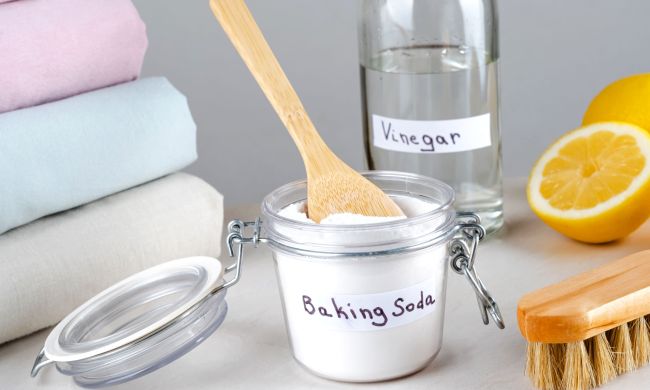
Next, wash the walls to remove dust, grease, and grime, as these can interfere with paint adhesion. Use a mild detergent or a mixture of vinegar and water for most surfaces. Let the walls dry completely before moving to the next step.
Tape and protect
Once the walls are clean, apply painter’s tape around trims, windows, and baseboards to ensure crisp lines. Take your time with this step — poorly applied tape can lead to messy edges. Finally, lay down drop cloths to protect your floors from drips and spills.
Priming the walls before painting

Priming before painting is a step you shouldn’t skip, especially if you’re painting over dark colors, freshly patched areas, or new drywall. Primer not only ensures better paint adhesion but also helps the true color of your paint shine through.
Begin by applying one even coat of primer to the walls using a roller for large areas and a brush for edges and corners. Allow the primer to dry completely, which typically takes a couple of hours. If the walls still look uneven or if you’re covering a particularly bold color, apply a second coat of primer. This will create a smooth, neutral surface for your paint.
How to paint a room
Now comes the fun part — painting the room!
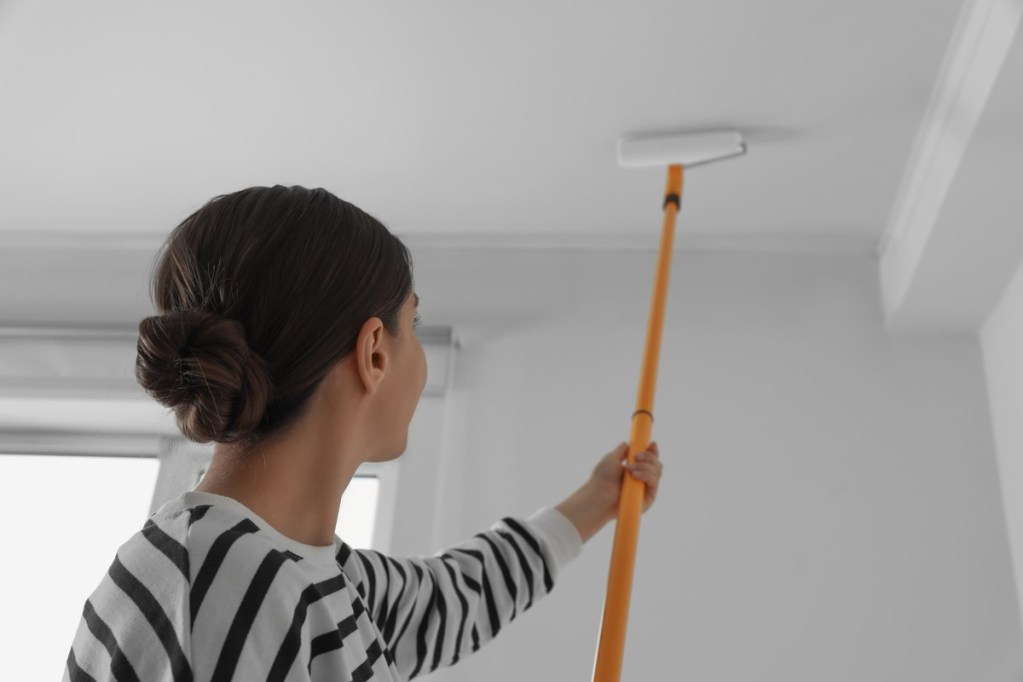
- Start by painting the ceiling to avoid drips on freshly painted walls. Use a roller with an extension pole to make the job easier, and work in sections to keep the paint wet and avoid lap marks.
- For the walls, begin by cutting in around the edges with a brush. This means painting along the taped areas near ceilings, trims, and corners.
- Once the edges are done, switch to a roller for the larger surfaces. Use a “W” or “M” motion to ensure even coverage and prevent streaks.
- Avoid overloading your brush or roller with paint, as this can cause drips.
- If you’re adding a second coat (which is often necessary for full coverage), wait for the first coat to dry completely before applying the next layer. Check the paint can for specific drying times, but generally, you’ll need to wait two to four hours between coats.
Drying and cleanup
Patience is key when it comes to drying, so resist the urge to pull off the painter’s tape immediately after painting. Instead, let the paint dry to the touch first. Most paints will need at least a few hours, but some may require overnight drying. When you’re ready to remove the tape, do so slowly and at a 45-degree angle to avoid peeling off the paint.
Once the tape is removed, inspect the walls for any touchups and fix them with a small brush. Afterward, clean your brushes and rollers thoroughly with warm, soapy water (or the appropriate cleaner if you used oil-based paint). Store your tools properly for future use.
Dispose of empty paint cans and other materials responsibly, following your local guidelines. Finally, return any furniture and decor to the room once the paint is fully cured, which can take up to two weeks for some finishes.
Learning how to paint a room doesn’t have to be daunting. With a clear plan, proper preparation, and the right techniques, you can achieve a professional finish that breathes new life into your space. Whether you’re updating a bedroom, refreshing a living room, or adding personality to a home office, this guide ensures your project is smooth, efficient, and rewarding. Happy painting!