When it comes to keeping your kitchen functional and aesthetically pleasing, knowing how to organize kitchen cabinets is essential. An organized kitchen not only makes meal preparation easier, but it also helps create a welcoming environment for family and guests. That’s why we’re going to explore effective strategies for decluttering, creating cabinet zones, and using smart products to maximize every inch of your kitchen cabinets.
Declutter first

Before diving into the organization process, the first and most important step is to declutter your kitchen. Cabinet space is often limited, so it’s crucial to ensure that only the items you use regularly are taking up valuable space.
Start by going through each cabinet and removing anything that’s expired, broken, or simply not used anymore. This includes outdated spices, chipped dishes, and mismatched glassware.
In addition to tossing old items, consider storing seasonal or infrequently used items in storage areas outside of the kitchen. Holiday-themed dishes, large serving platters, and specialized kitchen gadgets that are only used occasionally can go in a pantry, basement, or even an attic.
By decluttering and reducing the number of items in your cabinets, you’ll make room for the things you truly need and use, setting the stage for a more organized kitchen.
How to organize kitchen cabinets into zones

Once your kitchen is decluttered, it’s time to focus on organizing your cabinets into specific zones. This methodical approach will make it easier to find what you need when you need it, and it will help maintain order in the long run. By grouping similar items together, you can maximize efficiency and ensure that everything has a designated place.
1. Pantry zone
The pantry zone should be dedicated to nonperishable food items like canned goods, pasta, rice, and snacks. Organize these items by category, keeping similar products together and consider placing taller items in the back and shorter items in the front to keep everything visible and accessible.
2. Baking supplies zone
If you love to bake, creating a dedicated baking supplies zone is a must. Store your flour, sugar, baking powder, and other essentials in airtight containers, and keep them together in one area of your cabinets. Don’t forget to include baking tools like measuring cups, mixing bowls, and spatulas within easy reach.
3. Cookware zone
Your cookware zone should be reserved for pots, pans, and other cooking essentials. To save space and make items easier to grab, consider stacking pots and pans with their lids in a nearby drawer or cabinet. You can also use pan racks or pot lid organizers to keep everything neat and accessible.
4. Tableware zone
Organize your plates, bowls, and serving dishes in a tableware zone. This area should be easily accessible since these items are used daily. Stack plates by size, and consider using cabinet shelf risers to create more space for smaller items like bowls.
5. Flatware zone
A flatware zone should be located near your tableware for easy access during mealtime. Use a drawer organizer to separate forks, knives, and spoons. If space allows, you can also include serving utensils and specialty flatware like steak knives in this area.
6. Beverage zone
In the beverage zone, store glassware and beverage-related items like coffee, tea, and alcohol. Organize different types of glassware, such as water glasses, cocktail glasses, and wine glasses, in this zone. Keep your coffee and tea essentials nearby for easy morning access, and store alcohol and barware together for convenient cocktail making.
7. Storage container zone
Dedicate a cabinet or drawer to storage containers. Stack containers by size and keep lids organized in a separate section to avoid a jumbled mess. This will make it easy to find the right container when you’re putting away leftovers or packing a lunch.
8. Kids item zone
If you have children, create a kids item zone where you can store their cups, plates, and snack containers. Keep this zone within easy reach of your little ones so they can help themselves during snack time or set the table without assistance.
9. Food prep zone
Your food prep zone should be stocked with cutting boards, mixing bowls, and kitchen tools like knives and peelers. This zone should be near your cooking area for easy access while you prepare meals.
10. Cleaning product zone
Finally, designate a cleaning product zone for items like dish soap, sponges, and cleaning sprays. Keep these products under the sink or in a nearby cabinet for easy access during cleanup.
Brilliant products for kitchen cabinet organization

Now that you’ve established your kitchen zones, it’s time to consider some products that help you maintain order, make the most of your space, and make life a little easier. These items can transform your cabinets into an organized haven.
Wine glass racks
Hanging wine glass racks are a great way to store glassware without taking up precious cabinet space. These racks can be installed under shelves or inside cabinets, keeping your wine glasses safe and accessible.
Cabinet wire shelves and risers
Cabinet wire shelves and risers are perfect for creating additional storage space. They allow you to stack items like plates and bowls while keeping everything visible and easy to retrieve.
Lazy Susan
A lazy Susan is a rotating tray used to store spices, condiments, or small kitchen items. It’s perfect for deep cabinets where items can easily get lost in the back.
Other tips for organizing kitchen cabinets

Beyond these specific zones and products, there are several other tips you can use to further organize your kitchen cabinets:
- Hang pot lids on the inside of cabinet doors using adhesive hooks.
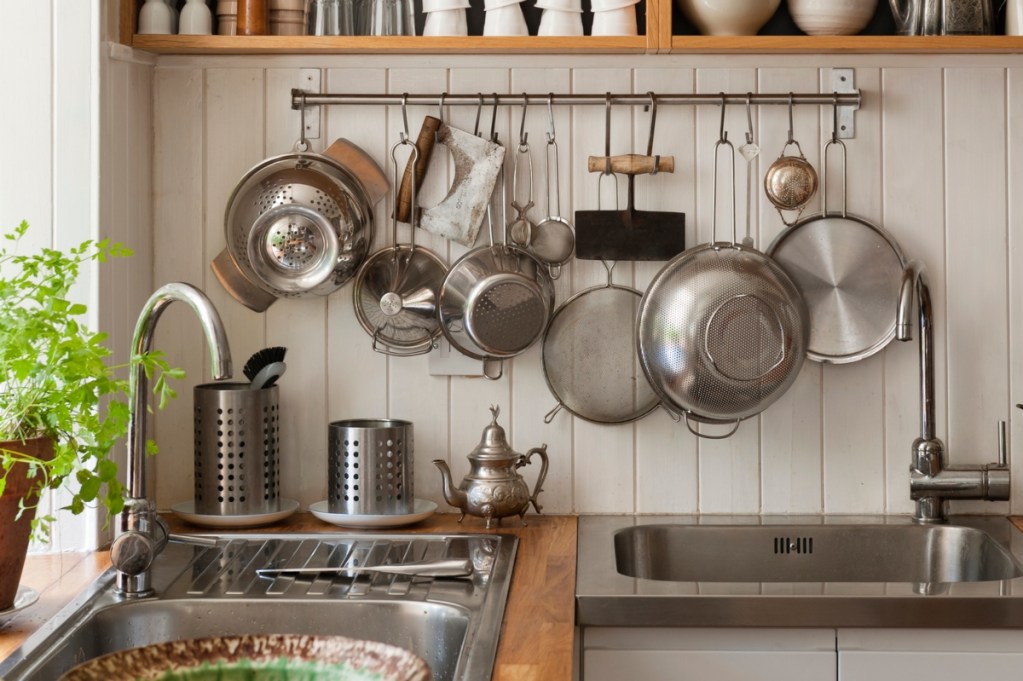
- Install racks to hang pans on the wall or from the ceiling.
- Store sheet pans vertically using a pan organizer or a simple wire rack.
- Use hooks on the outside of cabinets to hang items like oven mitts, measuring spoons, or small utensils.
- Hang racks on the inside of the pantry door for spices, baggies, or kitchen towels.
Organizing kitchen cabinets may seem like a daunting task, but with a clear plan and the right tools, it can be both manageable and rewarding. By following these tips, you can transform your kitchen into a space that is not only efficient but also enjoyable to use. Remember, the key to maintaining an organized kitchen is consistency, so take the time to put things back in their designated spots and enjoy the benefits of a well-organized kitchen.


