Learning how to do laundry is a necessary part of life, but it’s a task that many people dread. Even though clothing comes with straightforward instructions and washers and dryers are relatively easy to operate, there is still some confusion when it comes to the finer points and tips and tricks of laundry day. Is it still necessary to sort your laundry? Is it better to wash clothes with warm or cool water? Do my sweaters need to air dry?
If you’ve had any of these questions running through your mind, take a deep breath. Next time your basket is filled with dirty clothes, follow these few steps for a simple and easy laundry day.
Sort laundry

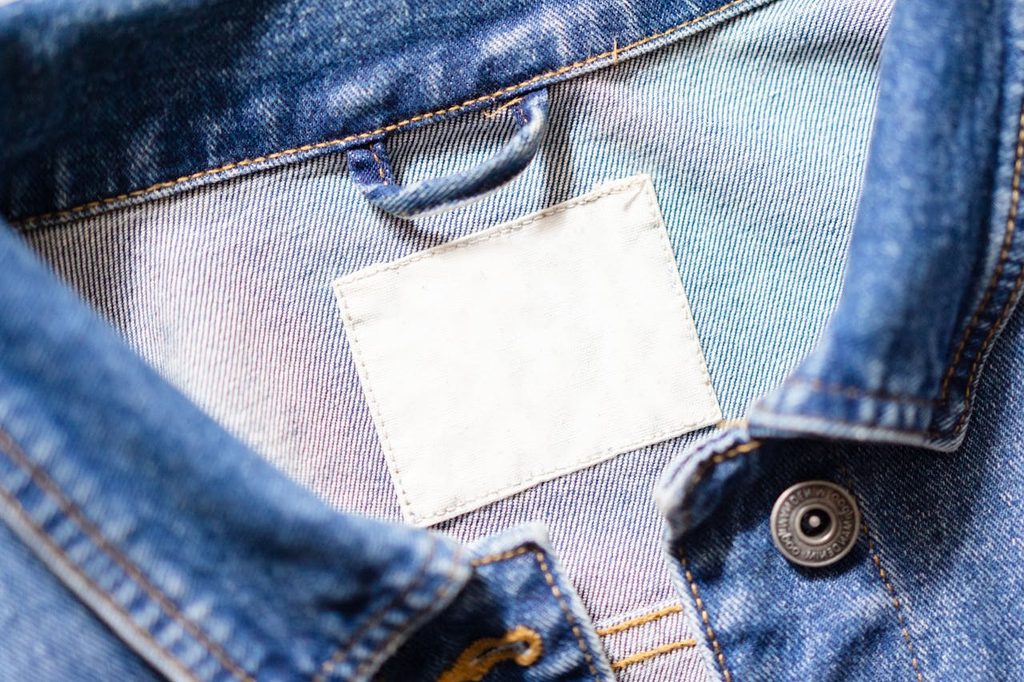
Before you wash any clothing, check the labels
Most items can go in a washing machine, but some have to be washed separately or by hand, while others must be dry cleaned. If you toss them into the washer along with everything else, those delicate fabrics can get damaged.
Divide clothing into two groups
One group with light colors, such as white, light gray, and pastels, and another group with dark colors like black, dark gray, brown, navy, and red. While dark colors won’t always ruin lighter fabrics, it’s better to be safe than sorry and keep them separate.
Know which clothes you should separate out
If you have any clothes that are especially dirty, wash them separately. If you have several lightweight garments, wash them in one load and wash heavier items, such as jeans and sweatshirts, in another. Wash your sheets and towels separately. This ensures all of these materials of different sizes and thicknesses will wash efficiently.
Sort laundry as you use it
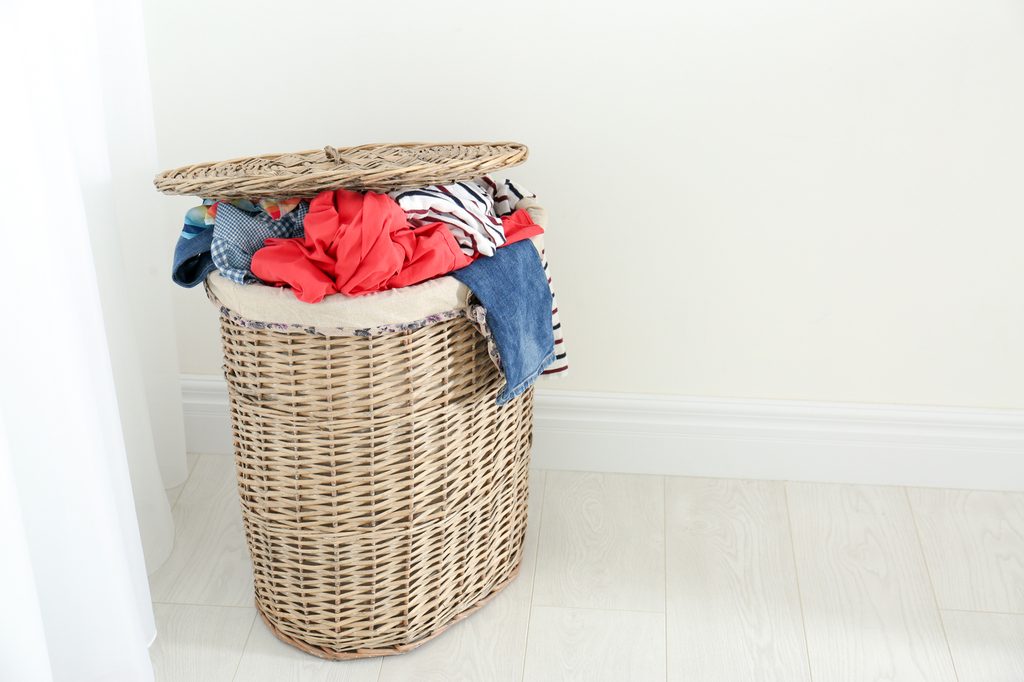
If you have enough space in your bedroom or laundry room for several laundry baskets, it will help you avoid this step and will also make it easy to tell when it’s time to do a load of laundry.
Prepare to wash clothes

Before you put clothing in the washer, check each garment for stains
If you find any, pre-treat them with a stain remover or follow a procedure to remove that specific type of stain.
Check clothing
Check all pockets and remove belts, zip pants, and button shirts so that nothing gets caught on other clothes. Doing this before you put clothes in the hamper can save you time on laundry day.
Choose a detergent, temperature, and cycle

Wash your laundry with an all-purpose detergent
Follow the directions on the package to make sure you use the right amount for each load. Depending on the type of washing machine you’re using, you may have to add detergent to the drum or to the dispenser.
Make sure the washer is on the appropriate setting
With modern washing machines and detergents, most clothes will become soft and clean if you wash them in cold water. Heavily soiled clothes, towels, and bed sheets, need a higher temperature to remove body oil and sanitize the articles.
After washing the items with detergent and fabric softener, the washer normally goes through a spin cycle to remove water from the clothes. On a permanent press setting, the wash cycle is fast, but the spin cycle is slow to prevent wrinkles. If you choose the delicate setting, both the wash and spin cycles are slow to decrease the risk of the garments snagging on the basin or each other. If you’re not sure which cycle to use, check the labels on individual articles of clothing.
Load the washer

Put items in the washer one at a time
When you load clothes, towels, or sheets into the washer, do it one at a time. If you throw them in all at once, the pieces can get wrapped up within each other and they won’t soak evenly.
If necessary, split your laundry into two or more loads
Do this to avoid overloading the washer. If you’re washing textured fabrics, corduroy, knitted garments, or clothes with dark colors, turn them inside out to prevent damage.
Dry your laundry

Some clothes must air dry, but most can go in the dryer
Before you put clothes in the dryer, check the tags to make sure you’re using an appropriate amount of heat.
Use the appropriate dryer setting
The permanent press dryer setting uses less heat than a regular cycle and incorporates a cooldown period to prevent wrinkles. A delicate cycle also uses low heat and dries gentle garments without shrinking them. If you have any articles of clothing that are very delicate or that have embellishments that aren’t heat-safe, use the tumble dry setting, which may also be labeled “no heat” or “air dry.”
When the dryer is finished, hang or fold them right away
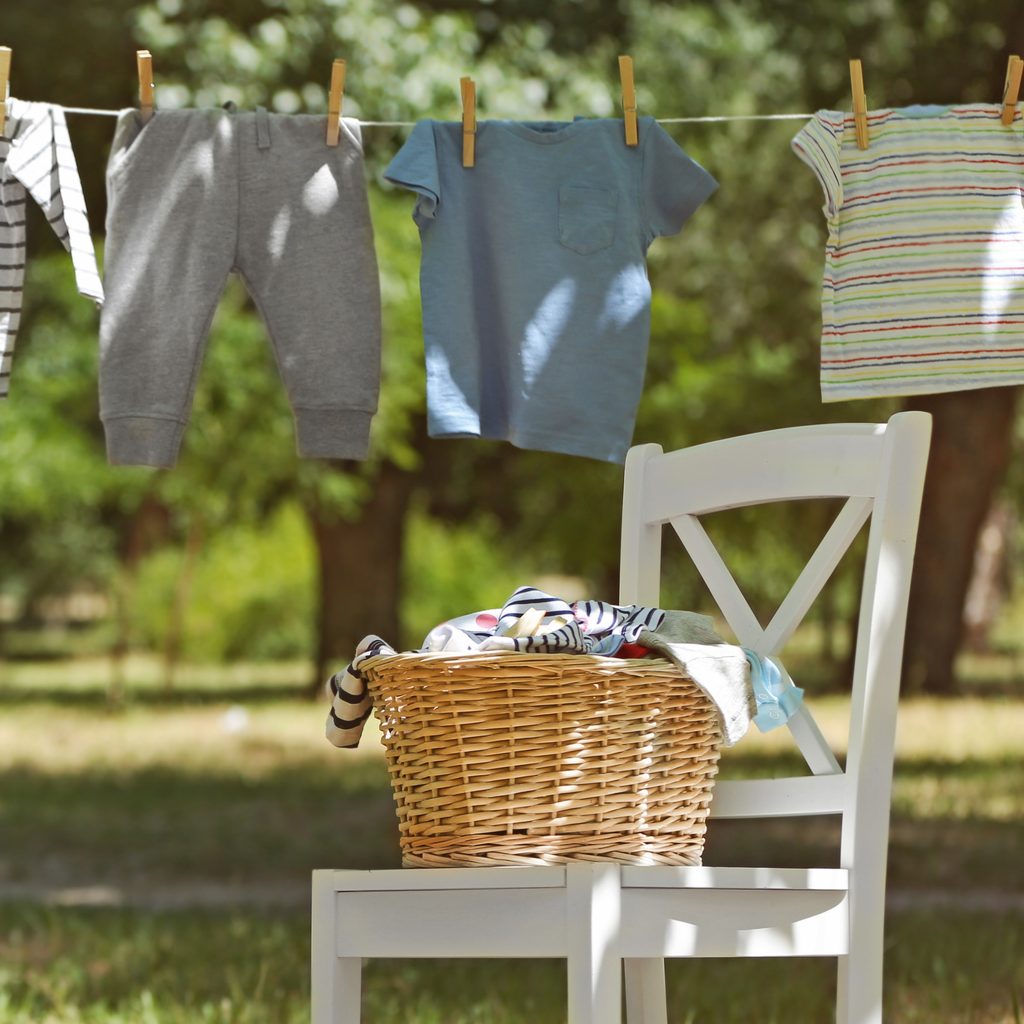
This is how you can prevent wrinkles. If you would like to save energy, hang your items on a clothesline to dry. Just be sure to check the weather forecast first.
Stay on top of it!

Staying on top of laundry can prevent it from piling up and becoming overwhelming. A few simple tricks can make a big difference:
- Set a regular schedule, like doing one load each day or dedicating specific days to tackle it.
- Make laundry day easier by sorting clothes as you go — use separate baskets for lights, darks, and delicates so loads are ready when you are.
- Fold clothes right out of the dryer to save time later and keeps things organized.
With small, consistent efforts, laundry can stay manageable and stress-free!
Washing your clothes isn’t as complicated as you may think. Although clothes are made with a variety of materials and washers and dryers have several settings, doing laundry is actually pretty simple once you understand the steps and the technology involved.


