Carpeted floors are popular for good reason. They keep bare feet warm, they’re more comfortable for everyday living, and they give a room that nice, cozy feel. With all the traffic in your home, though, those lush carpets can get pretty nasty. If it’s high time to address your dirty floors, take a look at this simple guide to deep cleaning carpets.
The importance of your cleaning routine
Your regular floor-cleaning routine is crucial in keeping your carpets cleaner for longer. Between deep-cleaning sessions, be diligent when it comes to vacuuming regularly and addressing spills and stains immediately.
How often should you vacuum?
Experts recommend that you vacuum at least once per week, but more often if you have pets or small children. Dirt settles on the floor daily, and the longer it sits between vacuuming sessions, the deeper it settles into the carpet and the more difficult it will be to get out with the vacuum.
Address spills quickly
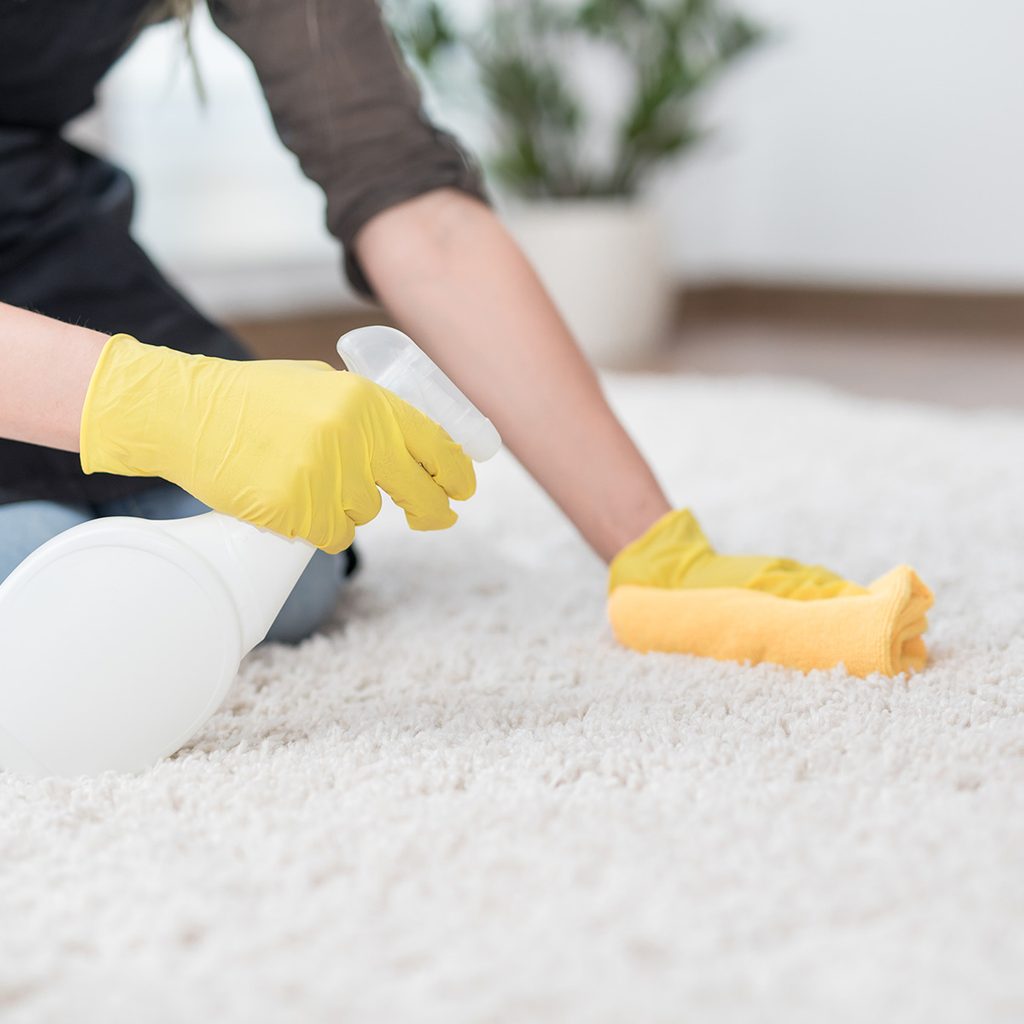
If you have kids or pets, spills and accidents happen regularly. The longer a stain sits, the deeper into your carpet it soaks, meaning you’ll have a lasting stain on your carpet. While it may be difficult amid your busy routine, cleaning up those spills right away and treating the area with a stain remover goes a long way.
How often should you deep clean carpets?
Deep clean your carpets at least once per year to get all the dirt, grime, and allergens out of the material. You may need to deep clean twice per year or even quarterly if you have pets or small children that spill often or tend to drag dirt and mud into the house. Keeping to a regular deep-cleaning schedule will go a long way in lengthening the life of your carpet and keeping it looking pristine.
Before you deep clean your carpet
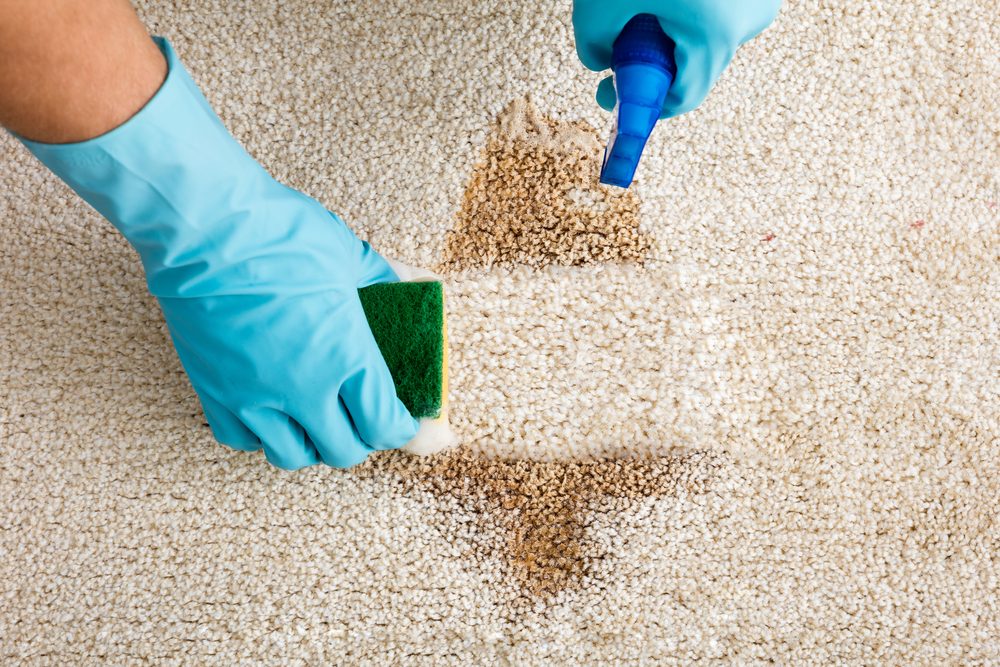
Regardless of the method you use to deep clean your carpets, it’s important to vacuum and treat stubborn stains first. If you skip vacuuming, the moisture from the deep cleaning may spread around and push dirt deeper into the carpet, leaving behind a dingy appearance. Also, when you treat stains first, deep cleaning will then lift out any remaining stain-removing solution and residual grime.
How to deep clean carpets: Two methods
While hiring a professional carpet cleaner or renting a carpet cleaning machine is the easiest and most effective way to deep clean your carpets, you can save money and use more natural materials if you do it yourself.
Method one: Baking soda and salt
Both baking soda and table salt have brightening, odor-neutralizing, and stain-fighting properties. Using these two household products, you can deep clean and freshen your carpet like a pro.
What you’ll need:
- Baking soda
- Table salt
- Spray bottle with clean water
- Scrubbing brush
- Towels or rags
Instructions:
- Mix a solution of equal parts baking soda and table salt.
- Starting at the far end of the room opposite the exit, sprinkle the solution on a portion of the carpet.
- Spray the sprinkled solution with water.
- Use a scrubbing brush to get the solution deep into the carpet.
- Use a towel or rag to blot and wipe away as much of the solution and dirt as possible.
- Move in an organized grid around the room toward the exit, repeating the process.
- Allow the carpet to dry completely before vacuuming the entire room.
If you have a handheld steamer, you can use it in place of the spray bottle. The steamer works well with the baking soda and salt to loosen the dirt and debris, and it also sanitizes the carpet material.
Method two: Vinegar and water
Vinegar is a great household cleaner that can loosen and lift dirt while deodorizing. This makes it perfect for deep cleaning carpets.
What you’ll need:
- Distilled white vinegar
- Water
- Spray bottle
- Bucket of clean water
- Microfiber cloth
Instructions:
- Mix one part vinegar and three parts water into your spray bottle.
- Starting at the far end of the room opposite the exit, spray the solution on a portion of the carpet until it’s damp but not overly soaked.
- Let the solution sit for five minutes so it can loosen the soil and grime.
- Use your microfiber cloth to blot the area and rinse the cloth in the bucket of clean water.
- Move in an organized grid around the room toward the exit, repeating the process.
- Refresh the water in the bucket often to avoid introducing lifted grime to other areas of the carpet.
- Allow the carpet to dry completely before walking on it.
Keeping your carpets clean on a regular basis can be a chore. While regular vacuuming and quick stain removal keep your carpets feeling clean for a while, deep cleaning periodically is essential to lifting stubborn dirt, grime, and even allergens that have snuck deep into the fibers. With one of these DIY deep cleaning methods, your carpets will be clean, bright, and fresh once again.


