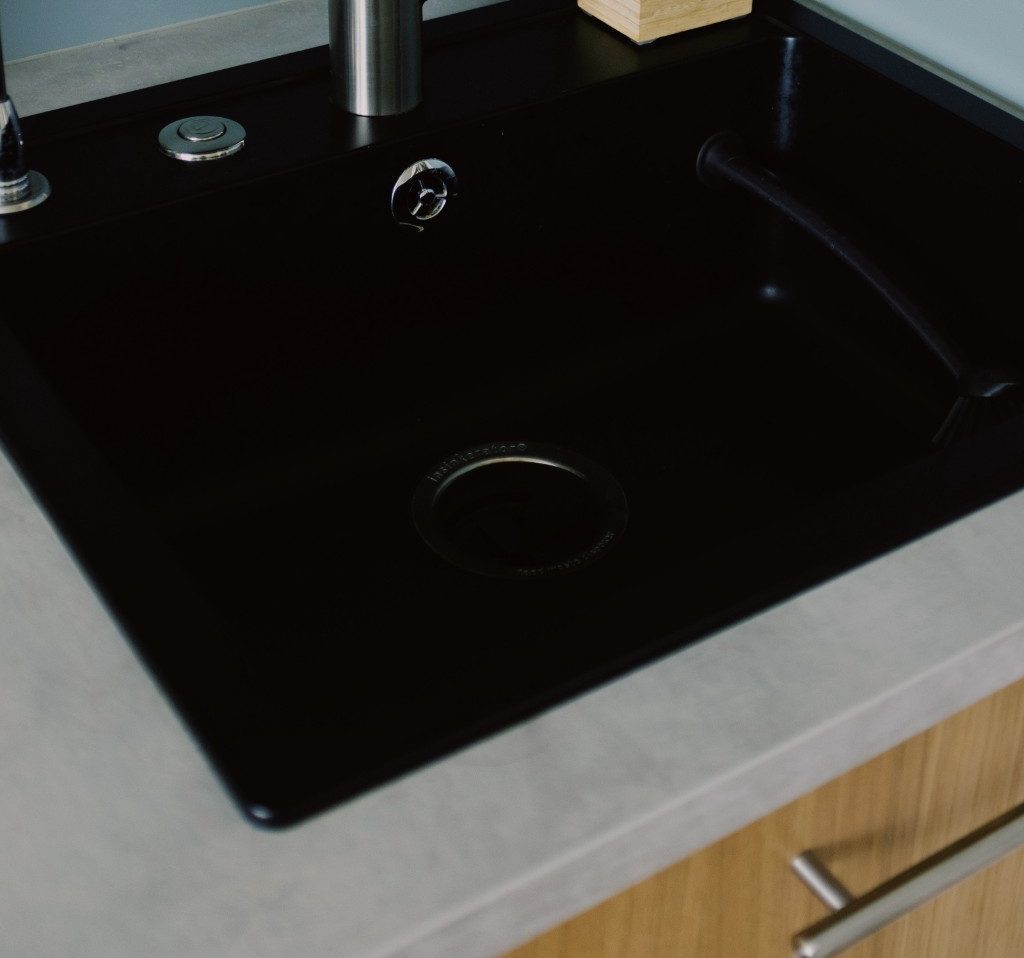
Maintaining a clean and fresh-smelling kitchen often means tackling one of the most overlooked appliances: the garbage disposal. This humble kitchen helper takes care of food scraps, preventing odors and keeping your sink clear. However, it needs regular maintenance to function properly and stay hygienic. Let’s walk through how to clean a garbage disposal in three easy steps, ensuring it stays in top condition and free from unpleasant smells.
1. Start with a “power flush”
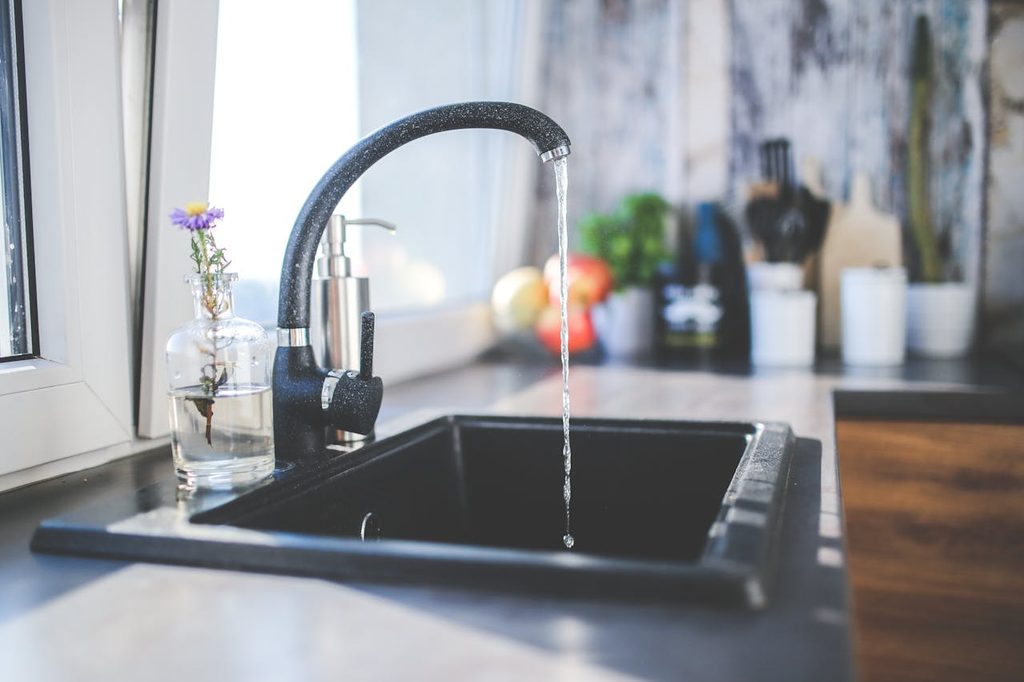
The first step in cleaning a garbage disposal is flushing out any pieces of food debris that might be lingering in the system. This initial cleanup step is crucial for removing loose particles and preparing the disposal for a more thorough cleaning. Here’s how to perform a power flush:
- Plug the sink: Start by plugging your kitchen sink. If you have a double sink, plug the one connected to the garbage disposal.
- Add cold water: Fill the sink with cold water until it’s about three-quarters full. Using cold water is important, as it helps solidify any grease or fat, making it easier to flush out.
- Remove the plug and activate the disposal: Quickly pull the plug and immediately turn on the garbage disposal. Let it run until all the water has drained out, flushing away any food debris and grime that has accumulated.
This simple yet effective method ensures that loose particles are washed away, setting the stage for the next cleaning steps.
2. The garbage disposal cleaning trio
After the power flush, it’s time to give your garbage disposal a deeper clean using the tried-and-true trio of ice cubes, baking soda, and lemon slices. Each of these ingredients plays a specific role in cleaning and deodorizing the disposal.
- Ice cubes: Start by dropping a handful of ice cubes into the disposal. Ice helps dislodge any stuck-on debris and scrapes the sides of the disposal unit, acting as a natural abrasive.
- Baking soda: Follow the ice cubes with about half a cup of baking soda. Baking soda is a fantastic natural cleaner and deodorizer. Let it sit for a few minutes to neutralize odors and break down grime.
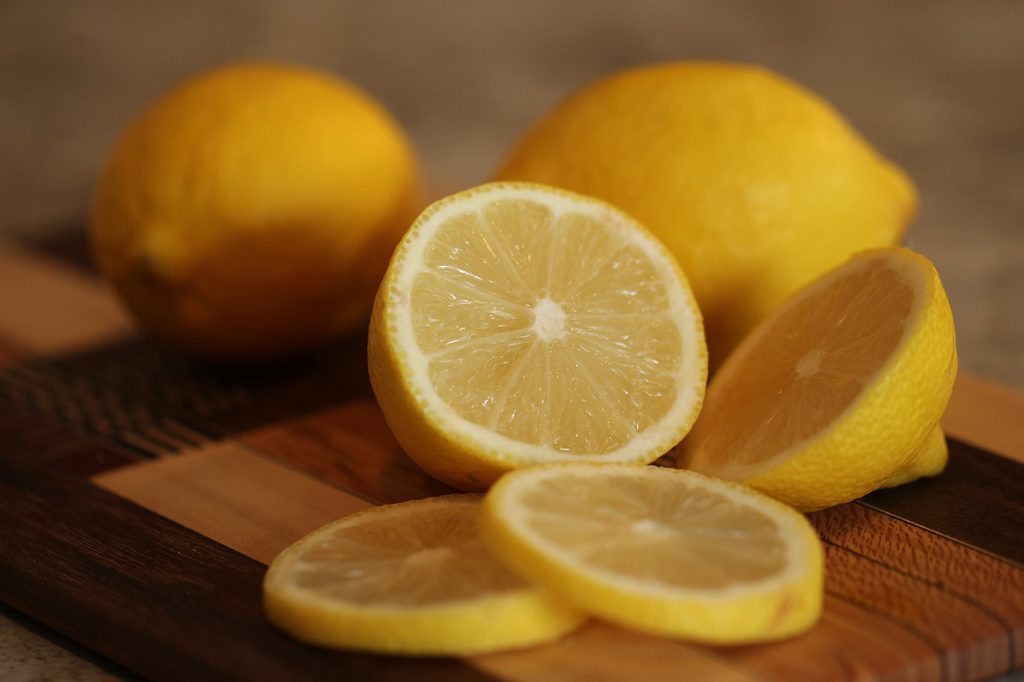
- Lemon slices: Finally, add a few slices of lemon. The citric acid in lemons helps to further clean the disposal while leaving a fresh scent. It also helps to cut through any remaining grease.
To finish, turn on the cold water and run the garbage disposal for about a minute. The combination of ice, baking soda, and lemon slices will leave your disposal clean and smelling fresh.
3. Clean the splash guard
The splash guard, also known as the baffle, is the rubber flap that sits at the entrance of the garbage disposal. It often traps food particles and can become a breeding ground for bacteria, leading to bad odors. Cleaning the splash guard is an essential part of the garbage disposal maintenance process.
- Turn off the disposal: For safety, make sure the garbage disposal is completely off before you start cleaning.
- Remove the splash guard: If your splash guard is removable, take it out for easier cleaning. If it’s not, you can still clean it in place.
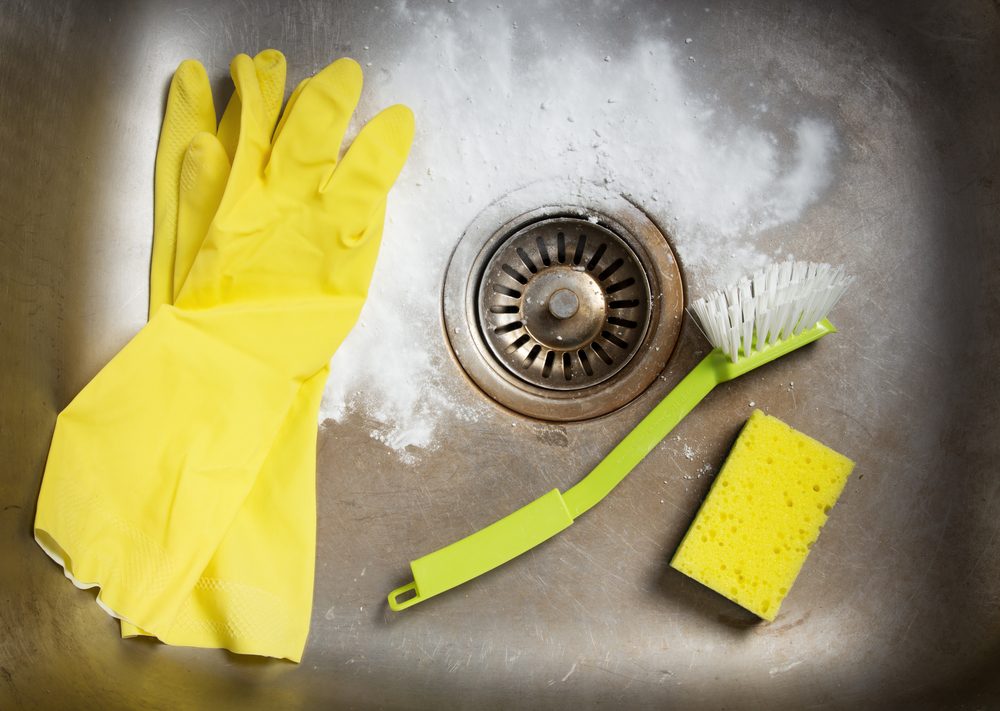
- Clean with a brush: Use a small brush, like an old toothbrush, and a mixture of warm water and dish soap. Scrub the underside of the splash guard thoroughly, paying close attention to any crevices where food particles might be stuck.
- Rinse and reinstall: Rinse the splash guard under running water and reinstall it if you removed it.
Regularly cleaning the splash guard prevents buildup and ensures that your garbage disposal remains hygienic and odor-free.
How often should you clean your garbage disposal?

Knowing how often to clean your garbage disposal can help keep it in optimal condition. For routine maintenance, it’s a good idea to perform a power flush once a week. The deep cleaning trio can be done once a month or more frequently if you notice any unpleasant smells. Cleaning the splash guard should also be a monthly task, or as needed based on usage.
Regular maintenance not only keeps your kitchen smelling fresh but also extends the life of your garbage disposal. By incorporating these cleaning steps into your routine, you can prevent clogs and ensure efficient operation.
A clean garbage disposal is essential for a fresh-smelling and functional kitchen. By following these three easy steps, you can maintain a hygienic and efficient garbage disposal. Remember to clean it regularly to keep your kitchen free of unpleasant odors and ensure the longevity of your appliance. With these simple techniques, you can learn how to clean your garbage disposal effectively and keep it in top shape. Make your gorgeous kitchen a more pleasant place to cook and gather!


