Keeping your walls fresh can make your space look crisp and pristine, but it’s important to know how to clean walls properly to avoid damaging the paint or finish. Whether you’re doing a seasonal deep clean, prepping walls before painting, or just tackling some unexpected smudges, the right wall-cleaning techniques and products can make all the difference.
Different paint types, different cleaners
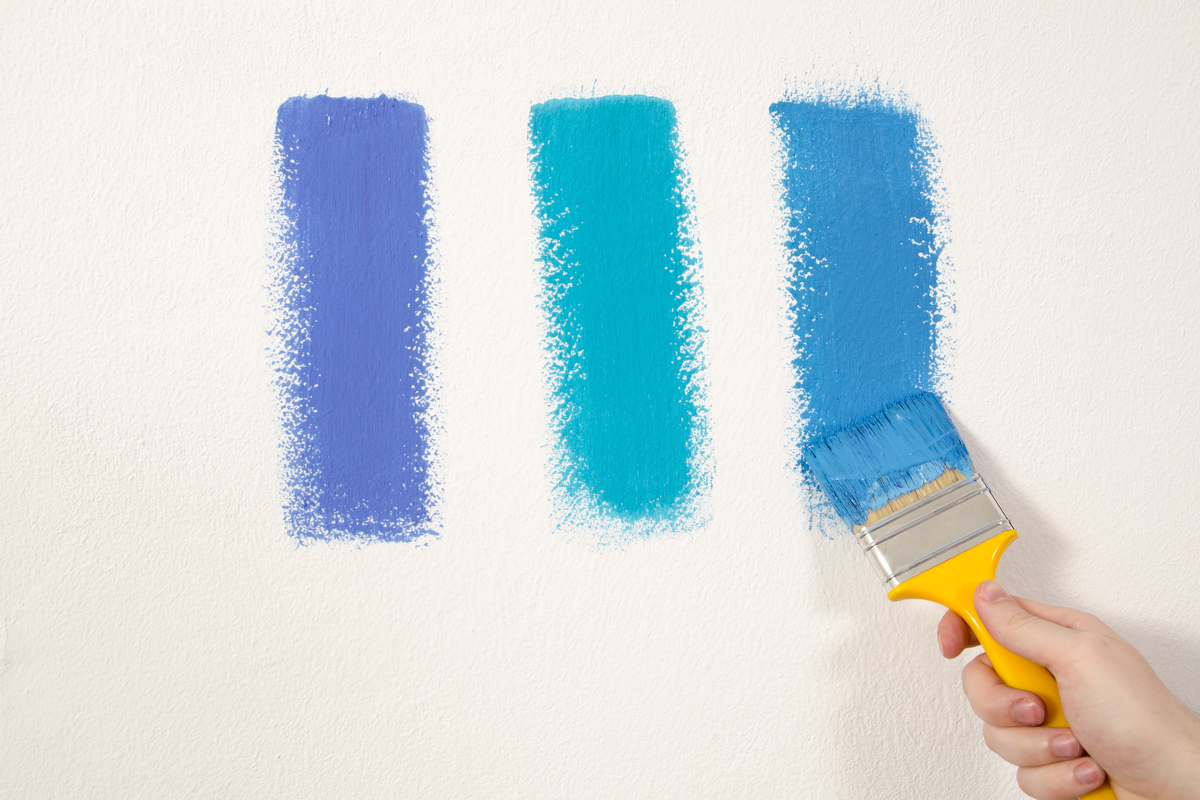
Not all paint finishes are created equal when it comes to cleaning. Some types of paint are more durable than others, so choosing the right cleaning solution and method is essential to avoid damaging the surface. The key is to match the cleaner to the durability of your paint type.
Flat paint, eggshell paint, and stain
Stained walls as well as flat and eggshell finishes are among the most delicate wall finishes. They lack the protective sheen of other finishes, making them more susceptible to damage from scrubbing or harsh chemicals. When cleaning these types of walls, stick to a mild soap and water solution. Use a soft sponge or microfiber cloth and avoid scrubbing too hard to prevent paint removal or visible streaks.
Latex paint
Latex paint is more durable than flat or eggshell finishes, but it’s still not indestructible. When cleaning walls painted with latex, use a nonabrasive cleaner like diluted dish soap. Avoid harsh chemicals or abrasive pads, as they can dull the paint’s finish. A soft cloth or sponge is ideal for gently cleaning these surfaces without leaving marks.
Gloss and semigloss finishes
Gloss and semi-gloss finishes are the most durable options and are often in high-traffic areas like kitchens and bathrooms. Their sheen makes them more resistant to moisture and dirt, so they can handle stronger cleaners. Degreasing agents work well on these surfaces, especially in kitchens where grease buildup is common. Still, avoid anything too abrasive that could scratch the finish.
How to clean walls: Step-by-step instructions

Knowing how to clean walls properly involves more than just grabbing a sponge and scrubbing. Following these steps will help ensure a thorough clean without damaging your paint or finish.
1. Prepare the space
Before you begin, clear the area around your walls. Move furniture away from the walls and remove any wall decor, such as paintings, mirrors, or shelves. This will give you full access to the entire surface and prevent damage to your belongings.
2. Dust the walls
Start by dusting the walls thoroughly. Dust and cobwebs can accumulate over time, especially near ceilings and corners. Use a microfiber cloth, a duster with an extendable handle, or a vacuum with a brush attachment to remove loose debris before applying any cleaning solution.
3. Prepare your cleaning solution
For most wall-cleaning tasks, a mild soap and water solution works well. Mix a few drops of dish soap with warm water in a bucket. If you need something stronger for tougher stains, consider a vinegar and water solution (equal parts) or a dedicated wall cleaner designed for painted surfaces.
4. Test the cleaning solution first
Before applying your cleaning solution to the entire wall, test it on a small, inconspicuous area. This test will ensure the solution won’t cause damage or discoloration. Allow the area to dry completely to confirm the results before moving on.
5. Wash from the top down
Begin cleaning from the top of the wall and work your way down. This method prevents dirty water from dripping onto already-cleaned areas. Use a damp sponge or cloth rather than soaking wet to avoid excessive moisture on the walls. Gently wipe the surface in a circular motion to lift dirt without damaging the paint.
Spot cleaning and stain removal
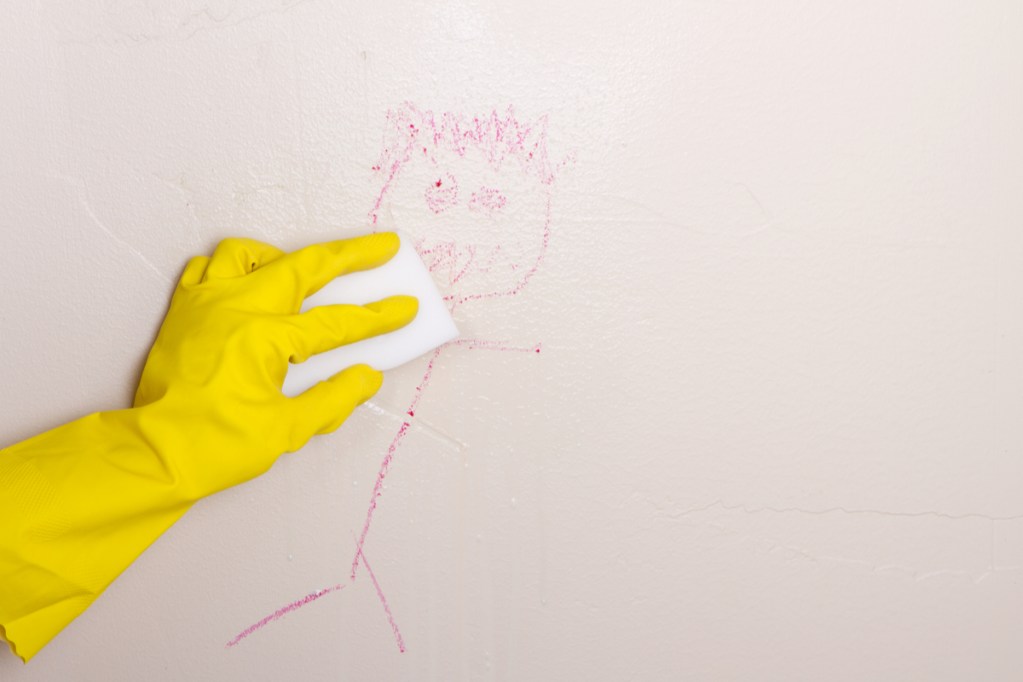
For stubborn stains and marks, spot cleaning can be more effective than washing the entire wall. Use a gentle cleaner and a soft cloth to target the stained area specifically. If the mark persists, consider using a Magic Eraser, but be cautious, as it can strip paint if rubbed too hard.
You can usually remove grease stains with a degreasing spray, while crayon marks may require a baking soda paste or rubbing alcohol. Always test the solution first, and if damage occurs, you may need to touch up the paint in the affected area.
Tips for cleaning walls

- Protect baseboards: Place towels along the baseboards to prevent moisture from dripping down and causing damage.
- Use a sponge mop for large spaces: For tall or expansive walls, a sponge mop with a long handle can make the task easier and help you reach higher spots.
- Dry on a warm day: Clean your walls on a dry, warm day to help them dry faster and reduce the risk of mold or mildew forming.
- Avoid harsh scrubbing: No matter the paint type, always avoid harsh scrubbing, which can lead to paint damage or streaks.
Knowing how to clean walls effectively can keep your home looking fresh while preserving the integrity of your paint or finish. By understanding your wall’s paint type and following a step-by-step process, you can safely remove dirt, stains, and smudges without causing damage. Remember to always test your cleaning solution first and take your time for the best results.