Cleaning grout can be a tedious task, but it’s essential for maintaining a clean and pristine appearance in your kitchen and bathroom. Over time, grout can accumulate dirt, grime, and stains, making it look dingy and unattractive. However, with the right tools and techniques, you can restore your grout to its former glory and keep it looking fresh for years to come. Here’s how to clean grout the right way so that it looks like new.
What you’ll need
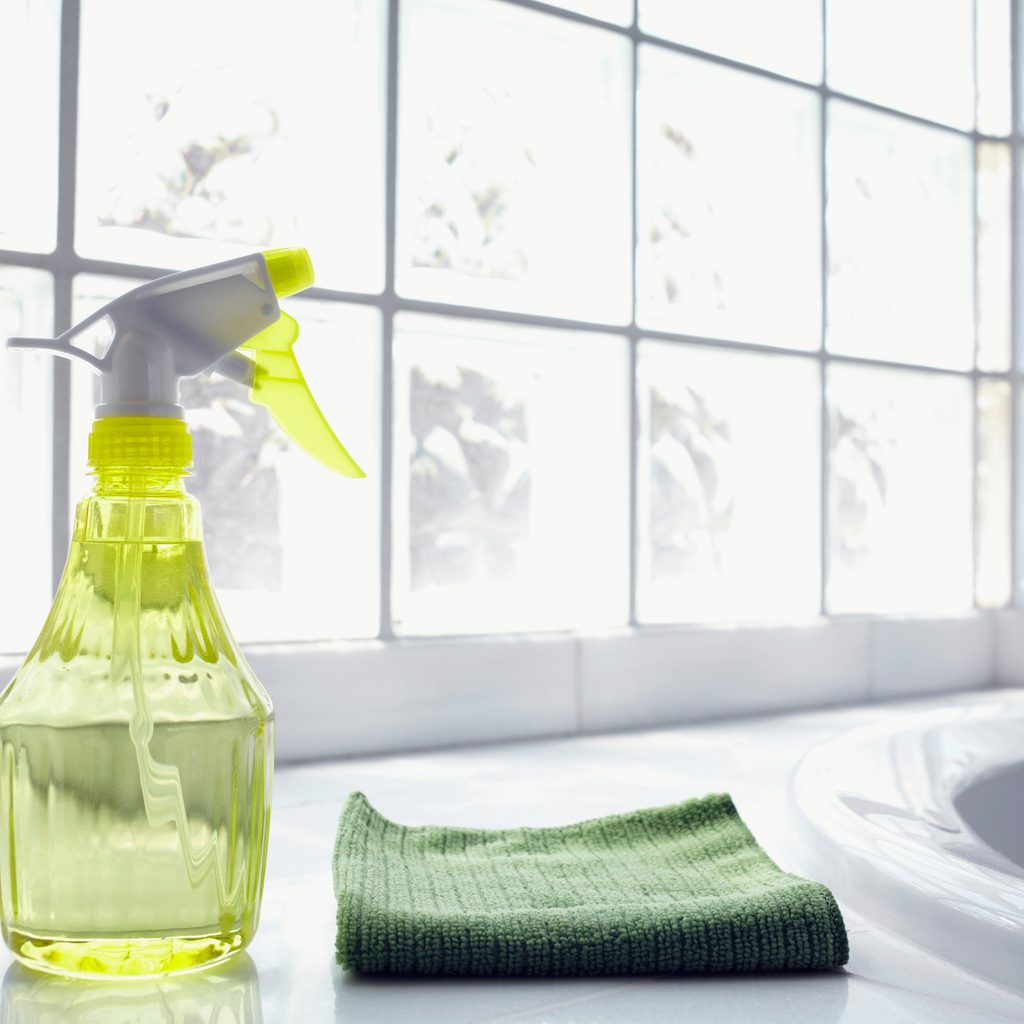
Before you begin cleaning your grout, it’s important to gather the necessary supplies. You’ll need:
- A stiff-bristled brush or grout brush
- A mild detergent or grout cleaner
- Water
- A sponge or cloth
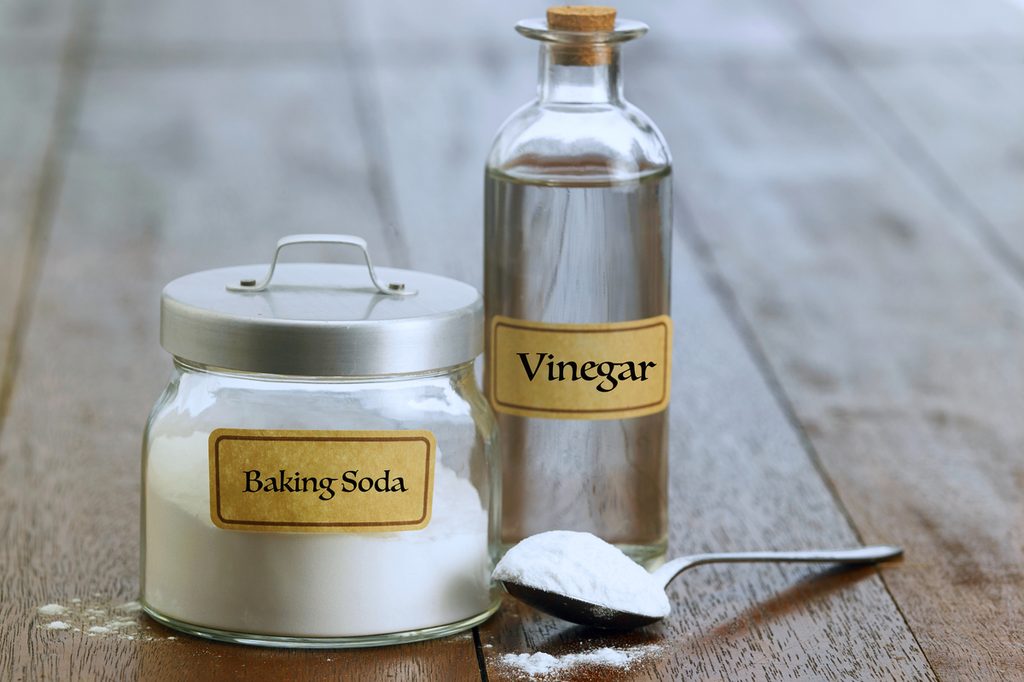
- Baking soda (optional)
- Vinegar (optional)
- Hydrogen peroxide (optional)
These basic supplies will help you tackle even the toughest grout stains and restore your grout to its original color.
How to clean grout
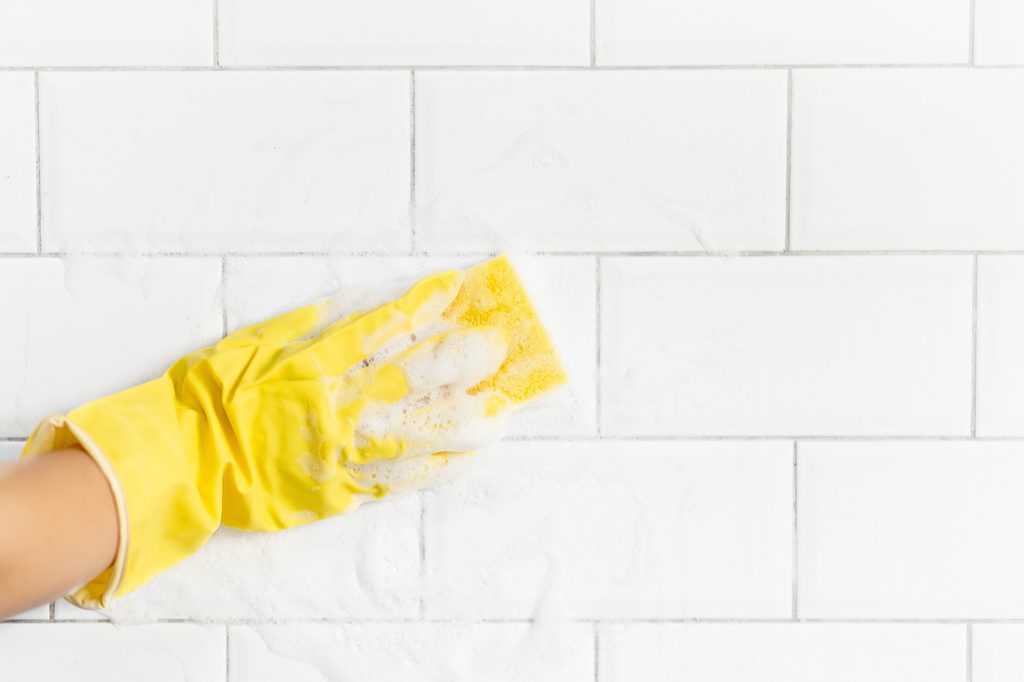
To clean grout effectively, start by mixing a solution of warm water and mild detergent or grout cleaner. Dip your brush into the solution and scrub the grout lines in a circular motion. Pay special attention to any areas with visible stains or discoloration.
Once you’ve scrubbed the grout lines, rinse the area with clean water and wipe away any excess moisture with a sponge or cloth. Repeat this process as needed until the grout is clean and free of dirt and stains.
How to clean stubborn grout stains
If you encounter stubborn grout stains that won’t budge with regular cleaning methods, there are a few tricks you can try. One option is to make a paste using baking soda and water and apply it directly to the stained grout. Let the paste sit for a few minutes, then scrub it away with your brush.
Another effective method for removing stubborn stains on both light and dark grout in the kitchen or bathroom is to use a mixture of vinegar and hydrogen peroxide. Spray the solution onto the stained grout, let it sit for a few minutes, then scrub away the stains with your brush.
What is the best homemade grout cleaner?
Many people swear by homemade grout cleaners for their effectiveness and affordability. One popular recipe involves mixing equal parts baking soda and water to form a paste, like we discussed earlier, regarding stain removal. Apply the paste to the grout lines, let it sit for a few minutes, and then scrub away the dirt and stains with your brush.
Another homemade grout cleaner recipe calls for mixing equal parts vinegar and water in a spray bottle. Spray the solution onto the grout, let it sit for a few minutes, then scrub away the stains with a brush.

How do professionals clean dirty grout?
If your grout-cleaning techniques aren’t cutting it, but you don’t want to resort to regrouting your shower or kitchen tile yet, you may want to enlist the help of the pros to clean your old grout. Professional grout cleaners often use steam cleaners or specialized cleaning solutions to tackle dirty grout. Steam cleaners use high-pressure steam to loosen dirt and grime from the grout lines, making them easier to clean.
In addition to steam cleaners, professionals may use commercial-grade grout cleaners that are specially formulated to penetrate deep into the grout and lift away tough stains. These cleaners are often more potent than household cleaners and can effectively remove even the most stubborn grout stains.
How to prevent grout buildup
Once you’ve cleaned your grout, it’s important to take steps to prevent buildup in the future. One way to do this is to seal your grout regularly with a silicone-based grout sealer. This will help protect the grout from dirt, moisture, and stains, keeping it looking clean and fresh for longer.
Another way to prevent grout buildup is to clean up spills and messes as soon as they occur. This will prevent dirt and grime from settling into the grout lines and causing stains.
Cleaning grout may not be the most glamorous task, but it’s essential for maintaining the cleanliness and appearance of your kitchen and bathroom. By following the tips we’ve outlined here, you can effectively clean your grout and keep it looking fresh for years to come. Whether you prefer homemade cleaning solutions or professional cleaning methods, there’s a method that’s right for you. So roll up your sleeves, grab your brush, and get ready to tackle those stubborn grout stains!


