Ever wonder how to clean a showerhead so it sparkles every time? Many overlook this task, but it makes a significant difference in the appearance and functionality of your shower. Ensuring your showerhead is clean not only improves your shower experience, but it also extends the lifespan of the fixture. Let’s explore why showerheads get clogged and how you can restore them to their original gleam.
Why do showerheads get so clogged?
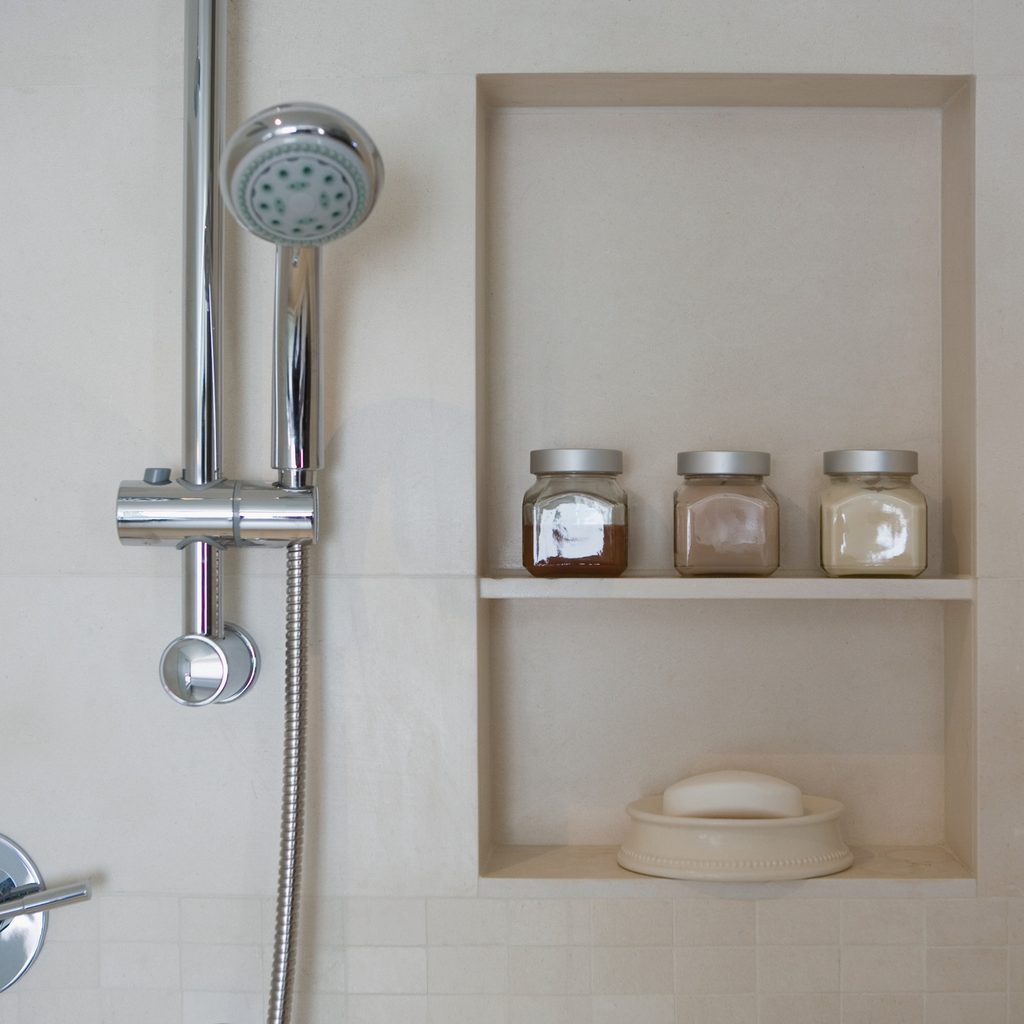
Showerheads often get clogged due to mineral buildup from hard water. Over time, minerals like calcium and lime accumulate in the tiny nozzles of the showerhead, restricting water flow and diminishing water pressure. This buildup can cause uneven spray patterns, and in severe cases, completely block some of the water jets. Regular cleaning is crucial to prevent these issues and keep your shower performing at its best.
How to clean a showerhead
Cleaning a showerhead might seem daunting, but it’s a straightforward process that’s easy to do with household items. We’ll walk you through the steps to restore your showerhead so that your shower is sparkling clean all over. Here’s a step-by-step approach on how to clean your showerhead effectively.
What you’ll need
To clean your showerhead, gather the following tools and materials:
- Plastic or glass pitcher
- Gallon-size plastic baggie
- 1/2 cup of baking soda
- 4 cups of distilled white vinegar
- 1 cup of water
- Rubber bands
- Microfiber cloth
You can find most of these in your house, making the cleaning process both easy and cost-effective.
1. Mix your ingredients
Start by preparing your cleaning solution. Line the pitcher with the plastic baggie, then add the baking soda to the bag. Slowly pour the distilled white vinegar into the bag, allowing the mixture to fizz and bubble. Once the bubbling has stopped, add the water to complete the solution. This concoction is highly effective in dissolving mineral deposits and grime.
2. Dunk in your showerhead
Submerge your showerhead in the mixture so that all of the water holes are covered. Depending on the model of your showerhead, you may need to angle it to ensure complete submersion. For example, a removable handheld showerhead can be placed inside the bag and then positioned in a bowl for stability. Ensure every nozzle is submerged for the best results.
3. Tie it up and soak
Secure the bag around the showerhead’s neck using rubber bands. Make sure the water holes remain submerged in the cleaning mixture. Let the showerhead soak for several hours, or ideally overnight, to allow the solution to break down the mineral deposits thoroughly.
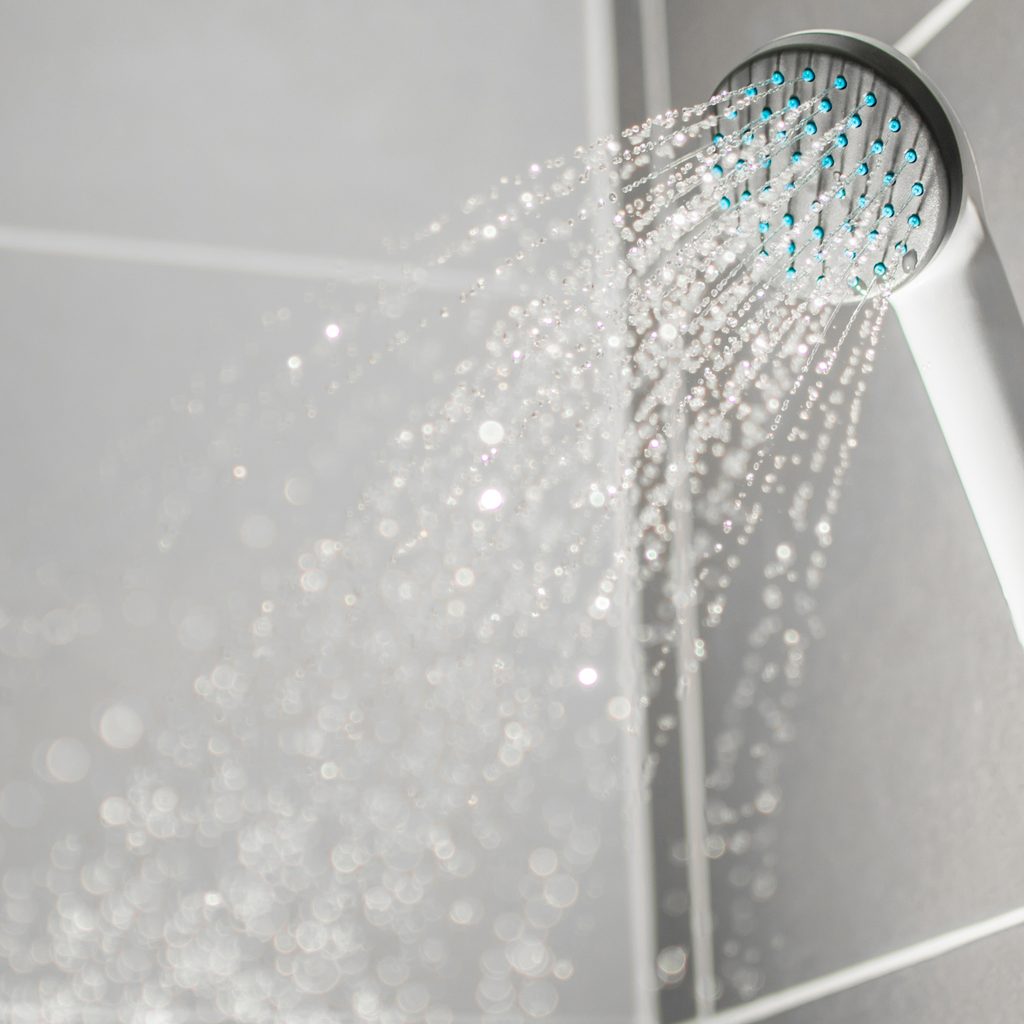
4. Test your water pressure
After the soaking period, carefully remove the bag from the showerhead. Turn on the water to flush out any remaining residue and test the water pressure. If the water flow is strong and consistent, the cleaning process has been successful.
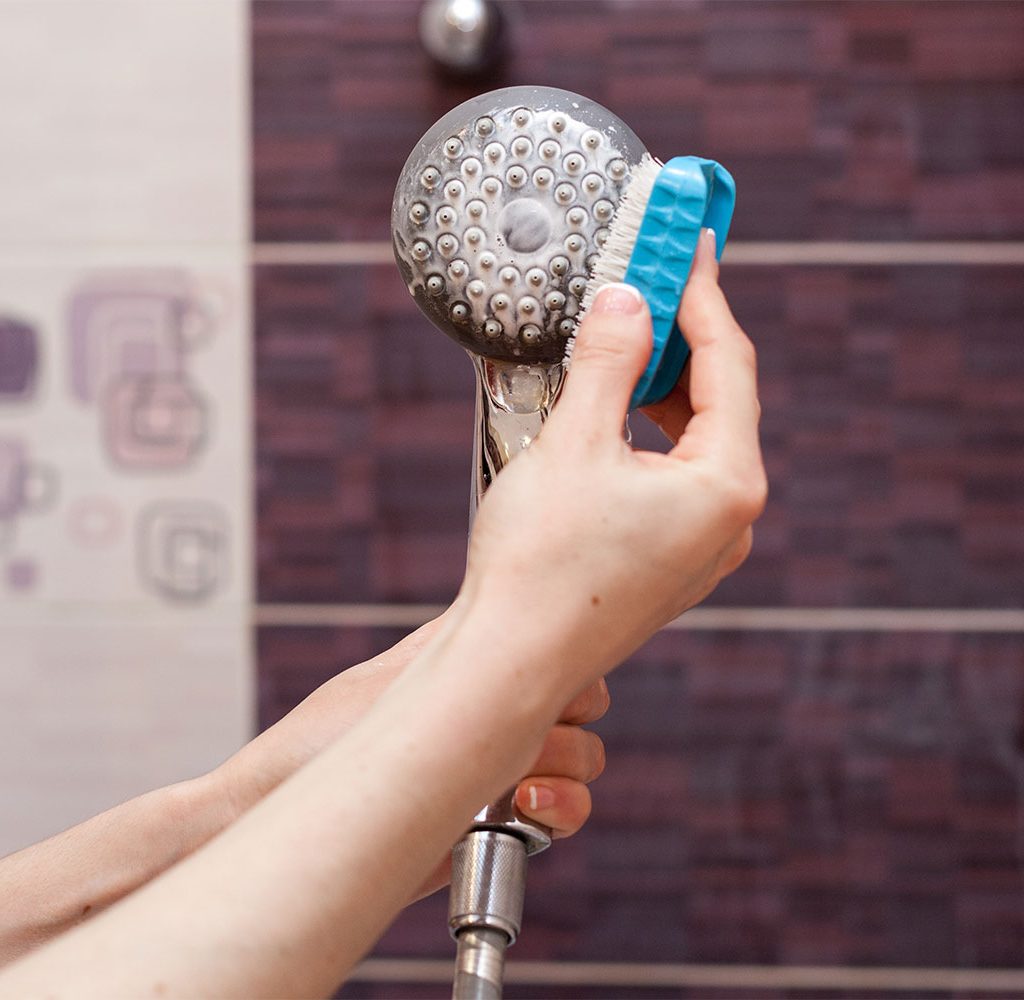
5. Wipe it down
Once you’ve confirmed that the water pressure is back to normal, use a microfiber cloth to wipe down the entire showerhead. Pay special attention to the water holes to remove any loosened debris. This final step ensures your showerhead looks as good as new.
How often should you soak your showerhead?
To maintain optimal performance, it’s recommended to clean your showerhead every three to six months. However, if you live in an area with hard water, more frequent cleaning may be necessary. Regular maintenance prevents significant buildup and ensures a consistent water flow.
How to prevent mineral buildup in your showerhead

Preventing mineral buildup is key to reducing the frequency of deep cleans. Here are some tips to keep your showerhead free from clogs.
- Install a water softener: This reduces the minerals in your water supply, minimizing buildup.
- Use a showerhead filter: Filters can capture minerals and impurities before they reach the nozzles.
- Wipe down after use: Regularly wiping your showerhead with a microfiber cloth can help prevent residue from hardening.
- Run hot water regularly: Running hot water through the showerhead for a few minutes can help dissolve any minor buildup.
Knowing how to clean a showerhead so it sparkles every time is a valuable skill that enhances your showering experience. With just a few household items and some simple steps, you can keep your showerhead in top condition. Regular cleaning not only maintains strong water pressure but also ensures your shower remains a refreshing and enjoyable part of your daily routine. Follow these tips, and your showerhead will thank you with a brilliant sparkle and a powerful spray.


