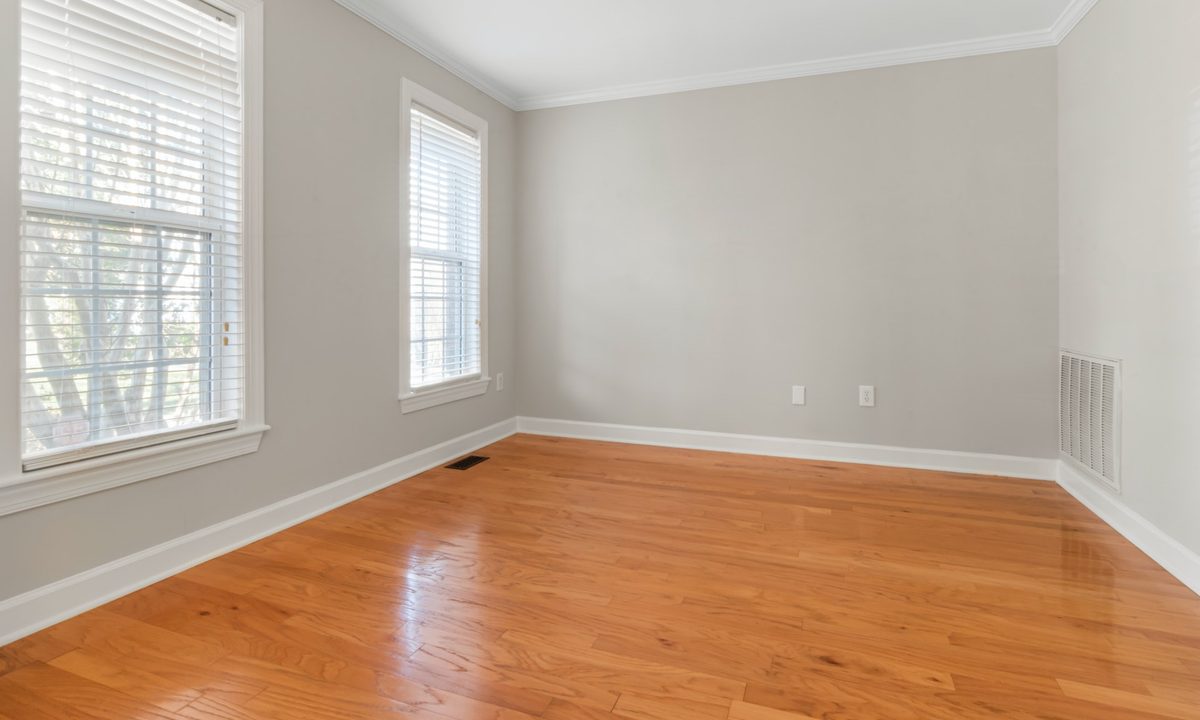
Refinishing your hardwood floors enhances the durability of your flooring while also providing your space with a fresh, good-as-new look. Refinished floors can boost your home’s ROI and enhance your design, making it a great option for homeowners looking to spruce up their space. But how much does it cost to refinish hardwood floors? We dive into everything you should know.
The average cost of refinishing hardwood floors
According to the 2024 data from Angi, the average cost of refinishing hardwood floors is around $1,100 to $2,600. The range can vary from as low as $600 for a simple project, such as recoating, to $4,500, depending on the condition of your hardwood and other factors that may sway your project budget.
What factors affect your hardwood refinishing costs?
Here is a list of some of the most common factors.
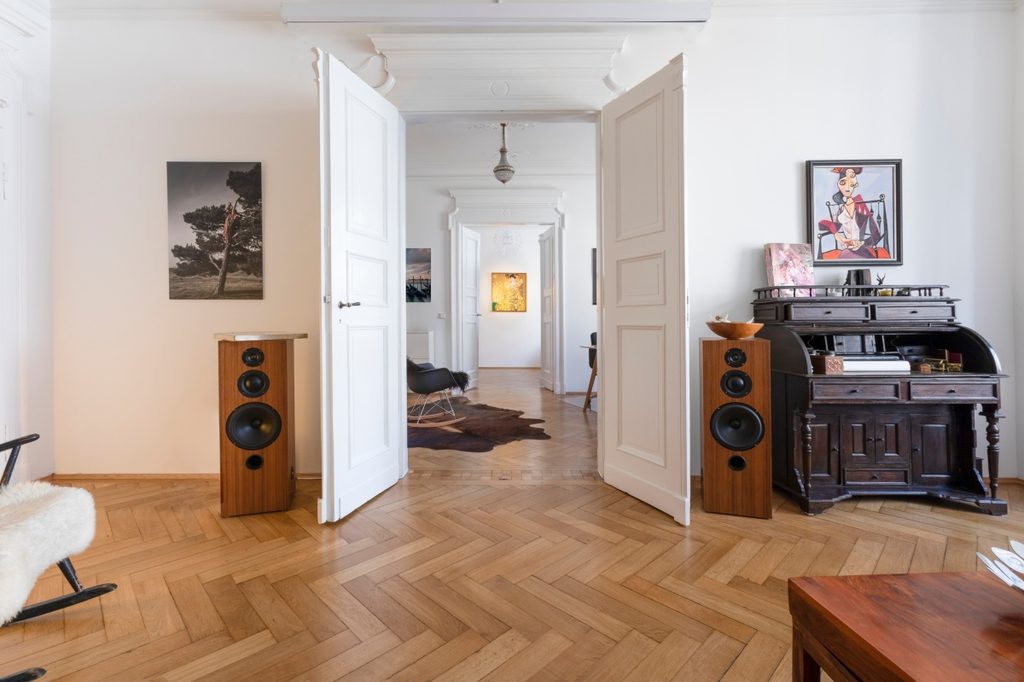
Type of wood
The type of wood you have in your home can impact your refinishing budget. Oak and cherry flooring are common wood types that have a more affordable refinishing cost. You might expect to spend $3 to $5 per square foot to refinish these floors. Alternatively, mahogany and maple flooring can cost $6 to $8 to refinish.
Project size
Of course, the size and scope of your project will be one of the top factors that affect your refinishing costs. The cost per square foot may be lower if you have a larger space, but you can expect to spend more overall when refinishing a larger area. An area of 40 square feet might cost $80 to $280, while an area of 1,000 square feet could cost $3,000 or up to $8,000, depending on sanding, staining, and repair costs that we’ll cover below.
Labor
Labor costs vary greatly based on your location as well as the needs of the project. It’s best to speak with a contractor to get a better quote on how much labor will cost in the overall project. It is possible to refinish your floors yourself to save some money. If you want a professional finish, expect to spend at least an additional $2 to $5 per square foot.
Type of finish
When refinishing your floor, you can choose from several types of finishes. We’ll cover the types of finishes below, but keep in mind that sanding, staining, and adding a top coat can all contribute to the project’s cost.
Wood condition
The condition of your wood will also impact costs. If your wood has light wear and tear, sanding can be done in a timely manner, so you won’t have to spend additional money on labor costs or a second round of sanding. However, wood with increased wear and tear or damage can quickly chip away at your budget. Speak to a contractor to gain more insight into your specific needs.
Prep work
Cleaning, moving furniture, and repairs can add to your costs, depending on your situation. If you’re refinishing an entire floor or every bedroom of the home, you may need to rent a storage unit, pay professional movers, or purchase a hotel room while the work is done. Of course, this isn’t the case for everyone.
What types of finishes can you use on hardwood floors?
The type of finish you wish to use on your hardwood floors will impact your project costs. Additionally, if you intend to sand, stain, and add a topcoat, all three refinishing techniques will contribute to the cost of your project.
Recoating
If your hardwood floors are in good condition and only have slight wear and tear, you can consider recoating. Recoating adds another layer of finish, like polyurethane, on top of the existing finish. No sanding or staining is required. Recoating can help freshen up the look of your floors and is a very cost-effective upgrade.
Staining
If you want to change the color of your hardwood floors, try staining them. Staining will add an additional $2 to $5 per square foot to your project costs, depending on the type of stain you choose. You may also need to sand your floors before staining, which could impact your budget. However, staining is optional. If you enjoy the natural color of your floors, you can skip this step.
Sanding
Sanding is a slow, messy process, but it can help remove an existing topcoat and rid your hardwood floors of any wear and tear. It is best to leave this step to the professionals, though it is possible to sand the floors yourself. Remember that renting equipment, paying labor costs, and clean-up fees can all contribute to the overall project expenses.
Topcoat
Polyurethane topcoats add more durability and shine to your floors. It helps to seal them and provide a smooth finish. Adding a topcoat is the key step for refinishing your floors. Whether you sand, stain, or leave your floors as is, adding a topcoat is essential to refinishing them. A gallon of polyurethane can cost anywhere from $15 to $70.
You’ll also have to choose between oil-based vs. water-based polyurethane. Oil-based topcoats have a slight hue to them and take longer to dry but are more affordable. Water-based topcoats are colorless and dry faster but cost more. Water-based polyurethane also has a lower sheen.
Waxing
Waxing is another alternative refinishing technique. Instead of adding a topcoat, some homeowners prefer to have their floors buffed and waxed. This process can require a few coats and a professional hand but can leave the floors with a smooth, matte finish. It’s also a great solution for maintaining high-traffic areas of the house.
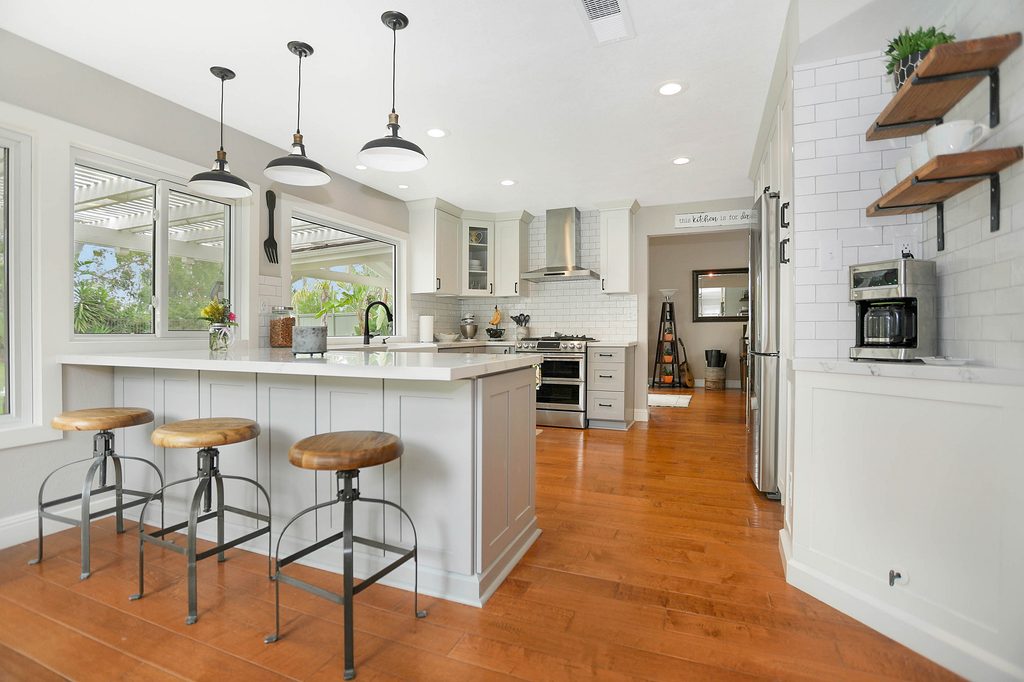
Refinishing floors can be costly but can give you a better ROI if you intend to sell. Additionally, refinishing helps maintain your hardwood for years to come and gives it a gorgeous gleam that enhances any design.


