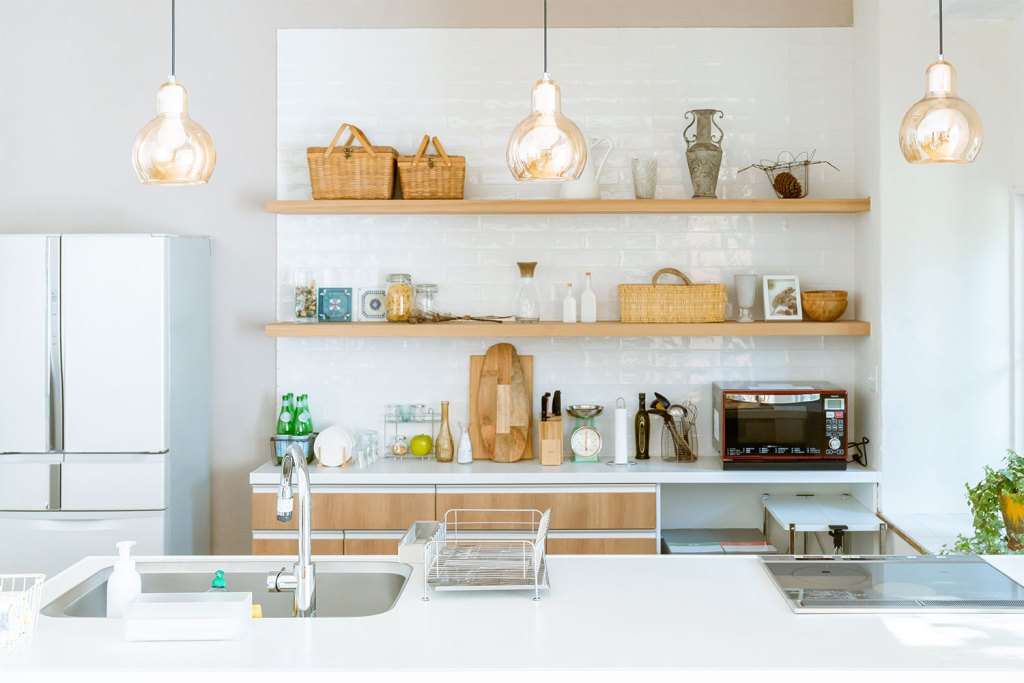
You may not be able to knock out walls and build that enormous gourmet kitchen you see in magazines, but there’s still some good news: With a few creative kitchen storage ideas, you can create a functional kitchen that gives you more freedom to stock up and easier accessibility to the things you need.
These kitchen storage ideas are total game changers, even if you think you’ll never totally love your kitchen. After implementing a few of these suggestions, you may find that your kitchen is one of your favorite rooms. Let’s take a look.

Cutting board slots
Cutting board slots help wrangle not only your collection of cutting boards but flat bakeware as well. It’s so awkward to store flat cooking tools because they take up a lot of space on the bottom of your cabinet while wasting valuable space at the top.
Slots give you the opportunity to store your cutting boards and flat bakeware vertically, ensuring that each can dry thoroughly. Also, you’ll never again cause an avalanche trying to get to your favorite one at the bottom of the pile. Plus, the visual pleasure of neatly stacked cutting boards is worth the effort.
A narrow, pull-out pantry
If you don’t have an actual pantry, you may be able to utilize awkward spaces for better organization. A pull-out pantry uses a narrow cabinet that slides out to reveal space to stack spices, cooking oils, bottles, and small baking ingredients, as suggested by Good Housekeeping.
You can add these cabinets to spaces as narrow as six inches or so, and you won’t have to scramble for spices that have gotten shoved to the back of the cabinet. Everything stays organized, and best of all, you can reserve your full cabinets for larger items.
In some cases, you may be able to build an entire slide-out shelf right next to your refrigerator. If you have some clearance, a DIY pantry shelf could make use of that tight space and help keep the visual clutter of cans and bottles out of your kitchen cabinets.

Shelves above the window or door
Take a look at what’s above your kitchen windows and doors. If it’s just a blank wall, this is a missed opportunity. Putting a simple open shelf above these spaces lets you squeeze every inch of usable space out of your kitchen.
Use simple L-brackets or floating shelf attachments to place shelves. You can use that space to store nonperishable items or cookware you don’t use often. These shelves keep things neat and out of sight, and they’re easy to install. Plus, they’re easy to take down if you change your mind or if you have a rental and are moving.
Hang lids
The back of your cabinet doors is home to more unused storage space. Since lids often present storage challenges, the back of the cabinet door can be a great place to secure them.
For glass lids that go with pots and pans, simple hooks can allow you to set the tops securely on the back of the door. For plastic storage lids, a narrow wire shelf gives you space to stack and organize.
Use curtain rods
Small curtain rods give you the ability to store all your supplies that come in rolls. Choose a small rod or even a bracket and attach it to the wall underneath your kitchen sink, on the back of the door, or underneath a cabinet.
From there, unpack things like paper towels and trash bags from their boxes and hang them on the rolls so you can grab one whenever you need it. Installation is simple, and this trick helps free up counter and cabinet space.

Use more hooks
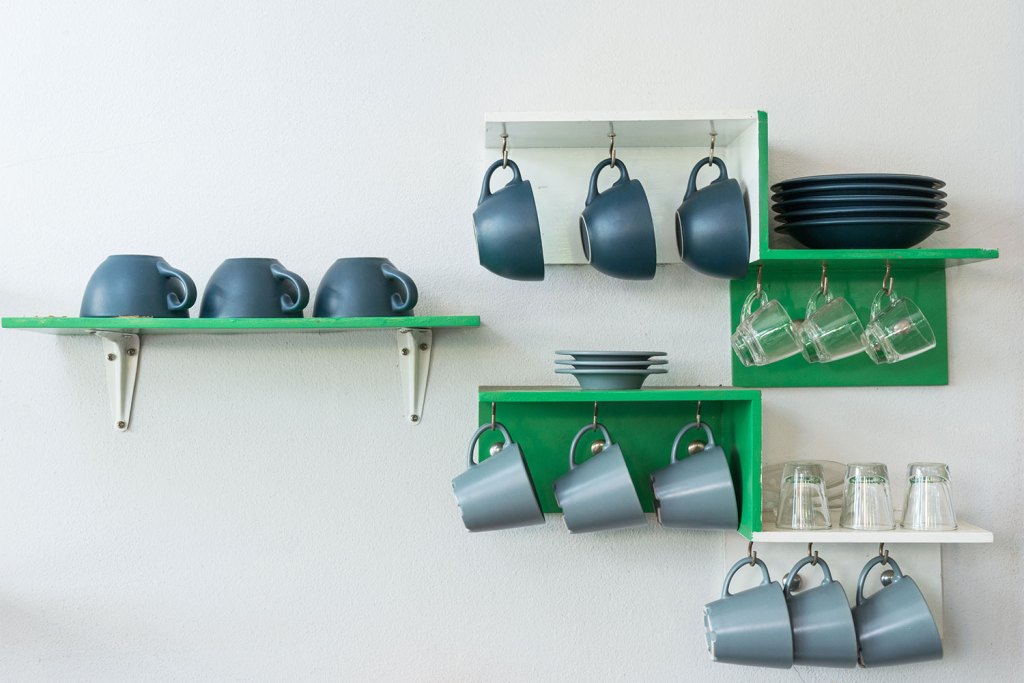
Hooks can wrangle a variety of challenging kitchen tools. If you’re always losing your measuring cups, hooks on the back of a cabinet door can help keep them on hand and easy to reach. Hooks can also give you space to store oddly shaped items (like mixer attachments), and they won’t take up drawer space anymore.
The best thing about hooks is that they’re small and easy to install. You can hang a hook practically anywhere. Use them to store towels, small accessories, and odds and ends. If you have a rental, they’re easy to remove and repair before you move.
Add a crockery drawer
If all your plates and bowls are stored in a cabinet, you could be misusing space. Cabinets are suitable for pantry-style storage, while drawers are the perfect place to store your bowls and plates.
Good Housekeeping gives another good option: crockery drawers. Crockery drawers have organization knobs designed to prevent your plates from sliding around. You’ll free up your cabinets and keep dishes in neat piles entirely out of sight. It’s a win-win.
Reimagining your kitchen space
Getting proper storage in your kitchen may require you to rethink the traditional use of some spaces. For example, moving plates into a drawer and standing your cutting boards vertically is a more efficient use of your small storage space.
Take some time to look for any small, unused areas in your kitchen and add a shelf or even a simple hook to make them functional. You’ll increase storage space and ensure that the things you need are always within reach.


