Leather furniture invites a cool luxury into any room, so it’s no wonder that it's a popular material in many homes. It's durable construction and stylish look make leather a preferred couch material ideal for hosting parties, reclining during a movie night, or spending a day resting at home.
However, after some time, leather requires additional cleaning to ensure that its rich color and smooth texture remain as good as new. If you’re not sure how to deep clean leather couches to preserve their beauty, rest assured that the process is super simple!

Be sure to pick the right materials for the job
Leather is sensitive, so these basic materials will do the trick without damaging the material. Stay away from harsh cleaners, furniture polish, and even baby wipes, all of which can quickly cause erosion. Be aware that some store-bought cleaners can damage the leather upholstery, so read the reviews to make sure the product you choose is gentle and effective.

What is the best product to clean a leather couch with?
To clean a leather couch effectively, you can choose from commercial leather cleaners, or you can opt for natural household products like white vinegar and lemon juice. Commercial leather cleaners are designed to safely remove dirt and stains while preserving the leather's quality.
On the other hand, a mixture of equal parts white vinegar and water, or lemon juice and cream of tartar, can also work wonders. These natural solutions help break down stains and maintain the leather's integrity. Remember to apply them gently with a soft cloth or brush. Whether you prefer commercial cleaners or DIY alternatives, regular care ensures your leather couch remains in top-notch condition.

Steps for cleaning a leather couch
Now that you have your cleaning supplies, it’s time to begin deep cleaning your leather couch.
Step 1: Vacuum any loose dust or debris on your leather couch. If you have one, use the brush attachment to better reach tight corners and crevices. If you can remove the cushions from the couch, be sure to do so and vacuum the area underneath.
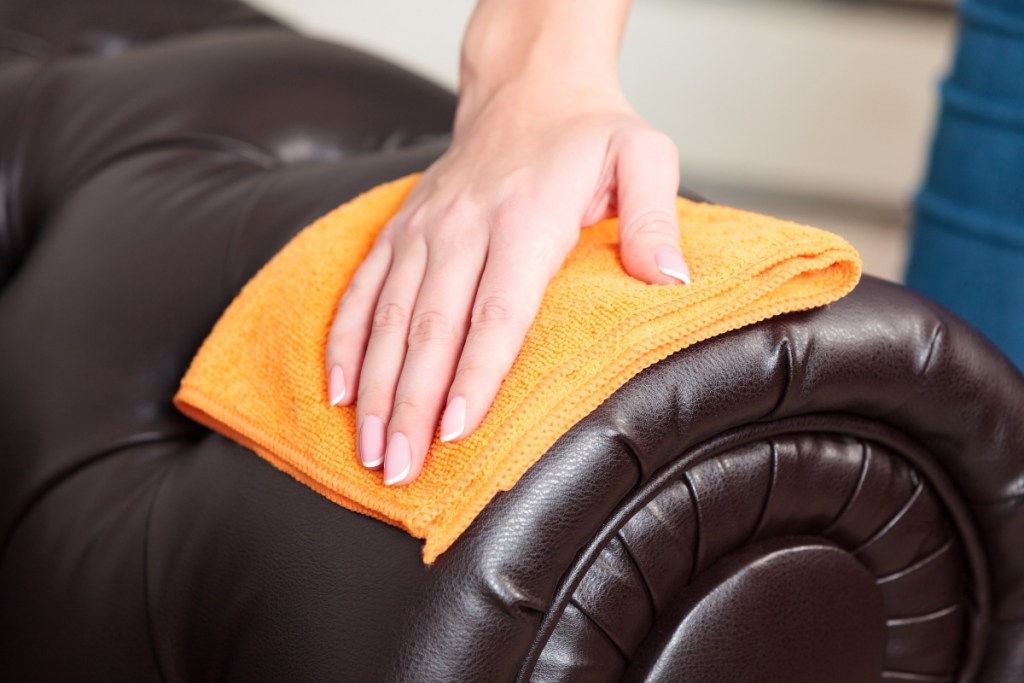
Step 2: After vacuuming, use a dry cloth to wipe down the leather couch to ensure that you removed all the dust and debris.
Step 3: As you vacuum and wipe down your couch, inspect it for any darkened, stained, or flaking areas that will need extra attention.
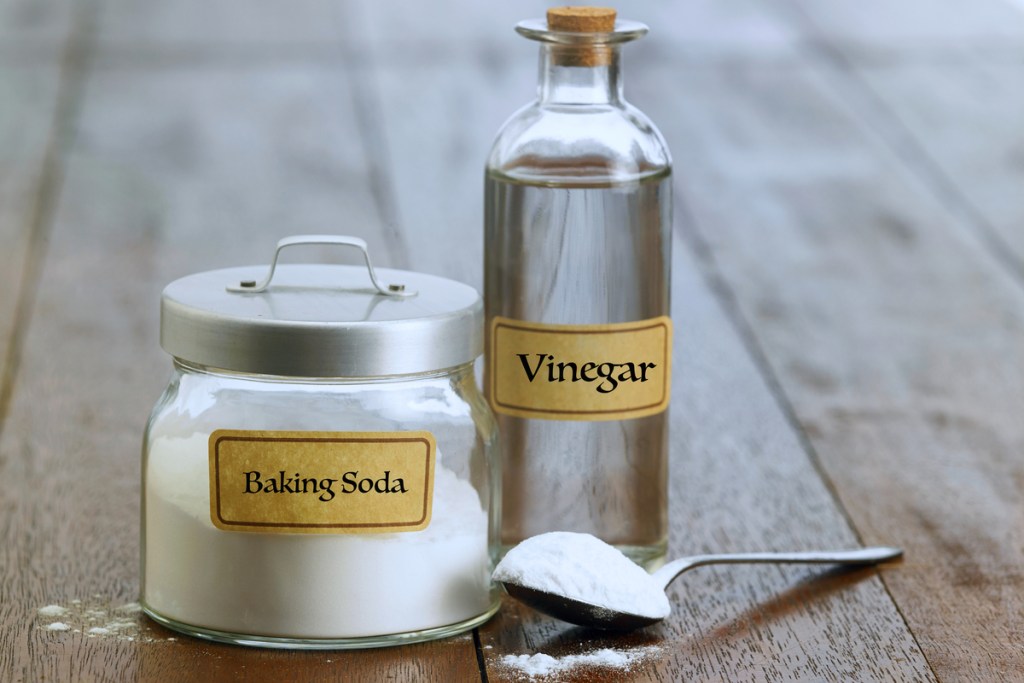
Step 4: To clean your couch, mix a solution of equal parts vinegar and water.
Step 5: Dip your cloth in the solution and wring it out so that the cloth is damp.
Step 6: Next, wipe the cloth across the leather surfaces in smooth strokes and rinse it in the solution as you go to ensure you aren’t spreading any dirt around.
Step 7: When you’re finished, use a dry cloth and go over any damp areas. This material doesn’t do well when saturated so don’t allow the solution to soak into the upholstery.

How to get rid of tough stains
Immediately after an accident or spill on the leather couch, act swiftly to prevent staining. While most stains can be cleaned with the solution above, grease and ink stains require additional attention.

Tackle grease stains
Step 1: If you have a grease spill on your leather couch, quickly wipe it up with a dry cloth. Don’t use water as this may cause the grease stain to soak into the natural material.
Step 2: If the grease stain is old and dried before you notice it, sprinkle baking soda onto the stain and allow it to sit for a few hours to encourage the grease to rise from the material.
Step 3: Rub off the powder with a dry cloth once the stain has been lifted.

Take care of ink stains
Step 1: If you notice ink stains on your leather couch, rubbing alcohol works wonders. Using a cotton swab or small cloth dipped in rubbing alcohol, wipe the area until the stain disappears.
Step 2: Be sure to wipe the area with a dry cloth when finished.

Clean up dark or unknown stains
Step 1: If you have dark or discolored stains on your sofa that you can’t remove with the vinegar solution, opt for a mixture of equal parts lemon juice and cream of tartar.
Step 2: Rub the paste onto the stain and allow it to rest for ten minutes.
Step 3: Use a damp cloth to wipe away the mixture and dry the area when finished.
If you’re having trouble removing stains with homemade cleaning solutions or commercial cleaners, call a professional who can clean your leather couch with material-safe solutions that won’t wear down your furniture.

What to do if your leather couch starts to flake or crack
Leather is commonly known for flaking and cracking. Often, much of this can be prevented by keeping your leather couch out of direct sunlight and using a leather conditioner to keep the material smooth and well-maintained.
Step 1: If your leather couch is beginning to crack or flake, clean the area with the aforementioned vinegar and water solution.
Step 2: Then follow up with a leather conditioner or filler. There are several leather filling kits available at most homeware stores that will restore your leather to its original appeal.
Step 3: If you have any deep tears or frays, however, consult a specialist who can restore your furniture to its former glory.
Deep cleaning a leather couch is fast and straightforward, so long as you have the suitable materials. Remember that prevention is key, so take the time to clean your leather furniture routinely to ensure that it remains at its best.


