If you love the subtle ambiance of fairy lights, but you aren’t quite sure how to use them in your home, aside from the traditional holidays, check out our fairy light ideas for some of the cutest methods of using decorative indoor string lights. There are so many ways to string these sparkly delights that we decided to break them into zones for you. This way you can imagine how you can best use them in your space, room by room. Let’s start with the entryway to your home.

Light up the entrance
The entryway or foyer is a great area for fairy lights at any time of the year. They keep things warmly inviting and light your way without being too bright for guests’ eyes to adjust as they enter.
Try them out in some of the following ways:
Step 1: Hang them from above to gently light up the entrance for guests (you can do this in any hallway, too).
Step 2: String them around banisters or handrails to lead guests upstairs, down halls, or elsewhere with ease.
Step 3: Place them carefully under glass globes or other clear glass decor and then place them on entryway tables and shelving.
Step 4: Place them in a hanging terrarium with air plants for a low-maintenance yet stunning conversation starter.
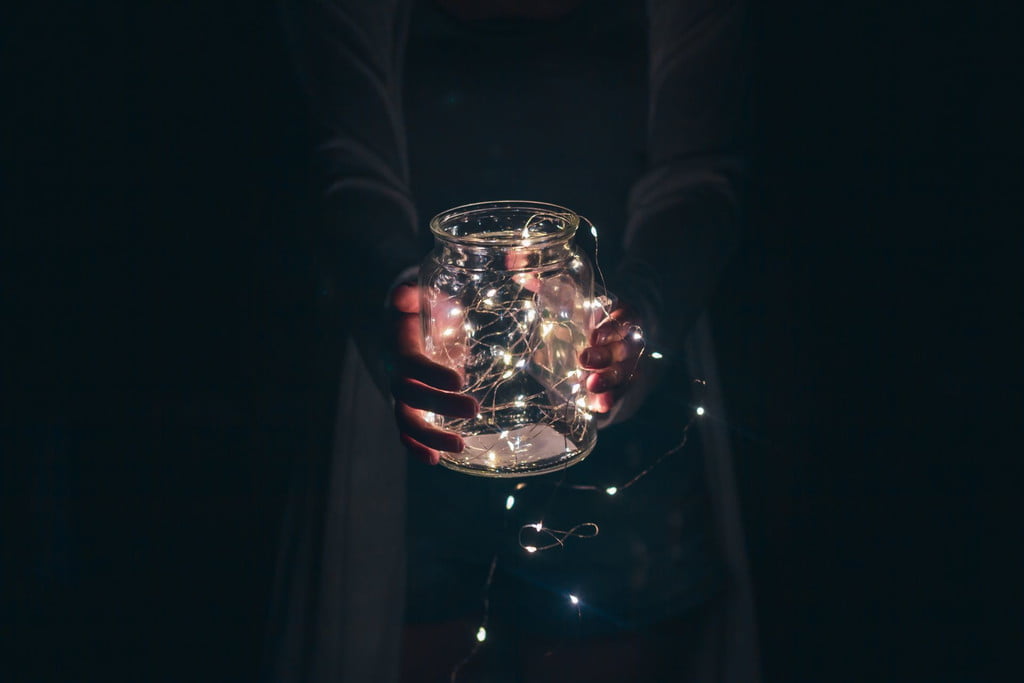
Use these fairy light ideas in almost any space
Fill a vessel with the glow of indoor fairy lights, and let it spread throughout the space. You can do this in many ways:
Step 1: Fill glass jars with them. You can string and hang them intermittently to light up the hallway if they're small enough, or place the lights on side tables, end tables, dressers, and more.
Step 2: Fairy lights can also look nice in tall, slender glasses or in Mason jar sconces. Lovely Etc. explains how to make a DIY fairy lantern in less than 5 minutes!
Step 3: Fill a basket or another pretty container (or groups of containers) with fairy lights and place them neatly along a line.
Step 4: Don’t be afraid to set up scenes and get creative. Some people choose to write words in lights while others create scenes.
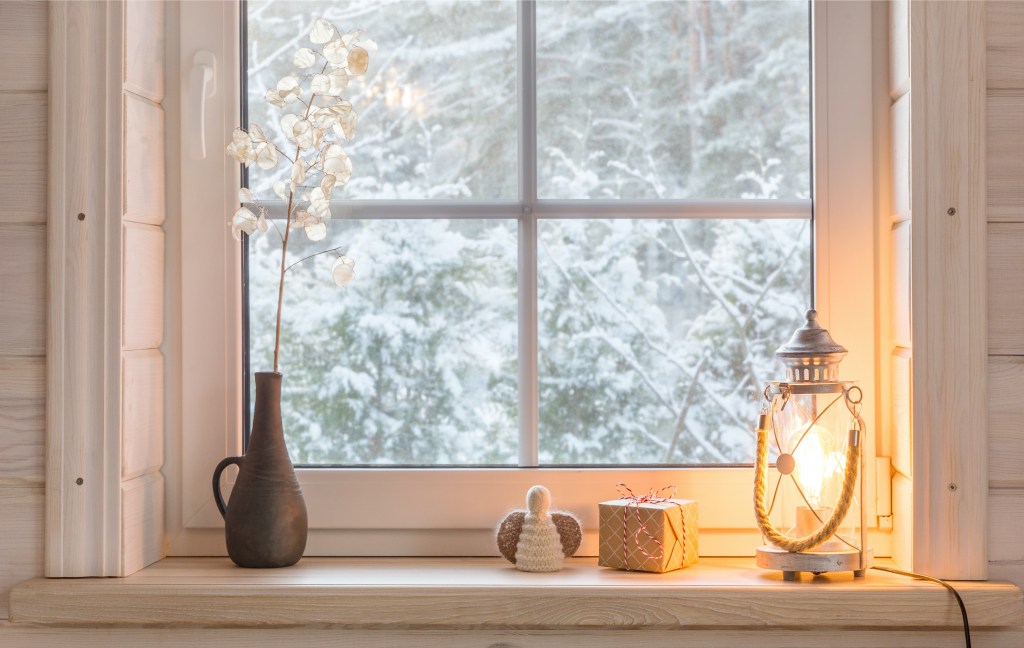
Spruce up the living room
Step 1: Zigzag them across the ceiling for a relaxed look in your living room.
Step 2: Wind your lights around any greenery, books, or other items that you have on shelving to highlight your decor.
Step 3: Yard Envy reveals that DIY curtain lights are easier than you think! You can also find and buy some woven into curtains — if you don’t want the hassle — for a sparkling window area.
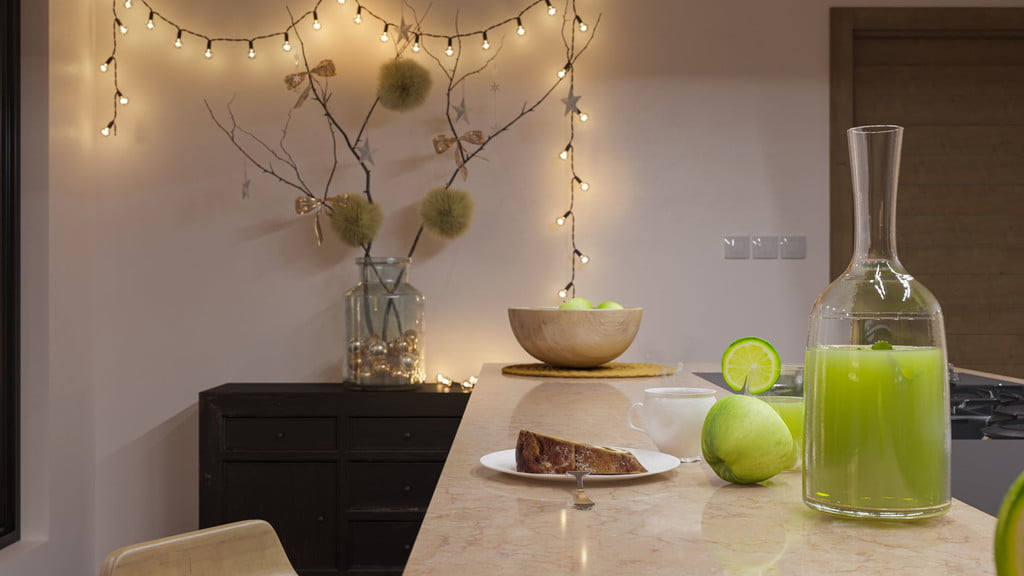
Add some twinkle to your kitchen
It doesn't hurt to add some warm lighting in your kitchen for a unique and fresh feel.
Step 1: Light up the area around your spice jars and baking supplies, cutting boards, recipe books, or anywhere worth showcasing with sparkles.
Step 2: Fill old wine bottles or empty vinegar or olive oil bottles with fairy lights and brighten up the corners of your kitchen.
Step 3: Drape a single strand across your kitchen window for a spritz of atmosphere while you put away dishes.

Tips for the best way to hang fairy lights
Whatever method you choose, remember these tips:
Step 1: Be aware of the lights you bought and their use, particularly if you’re hanging the fairy lights outside. Some lights are meant for indoor use only.
Step 2: Make sure the lights are LEDs if you plan to hang them near curtains or fabric of any kind.
Step 3: If you plan to hang anything heavy from your fairy lights, it’s best to use nails.
Step 4: If you’re hanging lights on a brick wall, you can use hot glue to keep them in place.
Step 5: If your lights have a battery pack, try hiding it behind items on shelves. You can also use Velcro to secure it to a wall.
Step 6: If you’re forming a word or a shape with your lights, write it on the wall in pencil first.
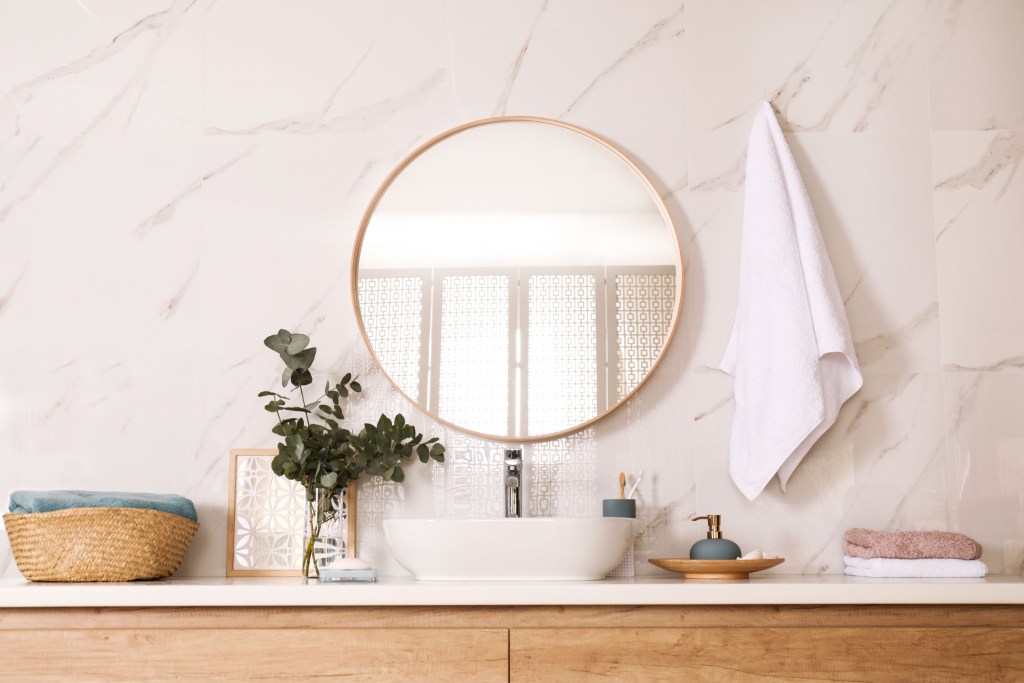
Make your bathroom magical
Step 1: As long as it’s far enough from water sources, use your imagination and highlight anything you like with your fairy lights in the bathroom.
Step 2: If it works with your bathroom design, you can “nautical-ize” any old bottle by adding fairy lights and a seahorse medallion — or mermaid, sea turtle, or anything, will also do.
Step 3: Sparkle up your vanity mirror with some fairies around the edges for a gentle glimmer.
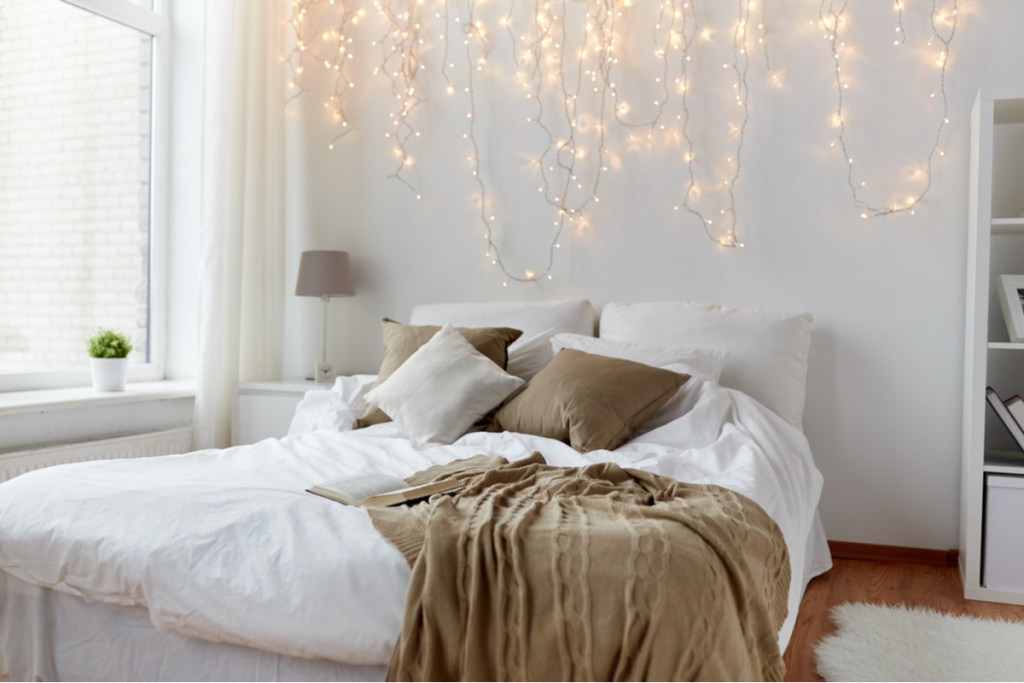
Upgrade your bedroom with all sorts of fairy light decorations
The lighting in your bedroom could use a bit of that magical touch that fairy lights bring.
Step 1: Hang them across the canopy of your bed instead of or with your favorite fabric.
Step 2: String them on faux or real branches (with leaves removed) decoratively on each side of the bed, or wherever you like.
Step 3: Hang them with or without beads from the doorway in place of a door.
Step 4: Highlight a mirror or dressing table.
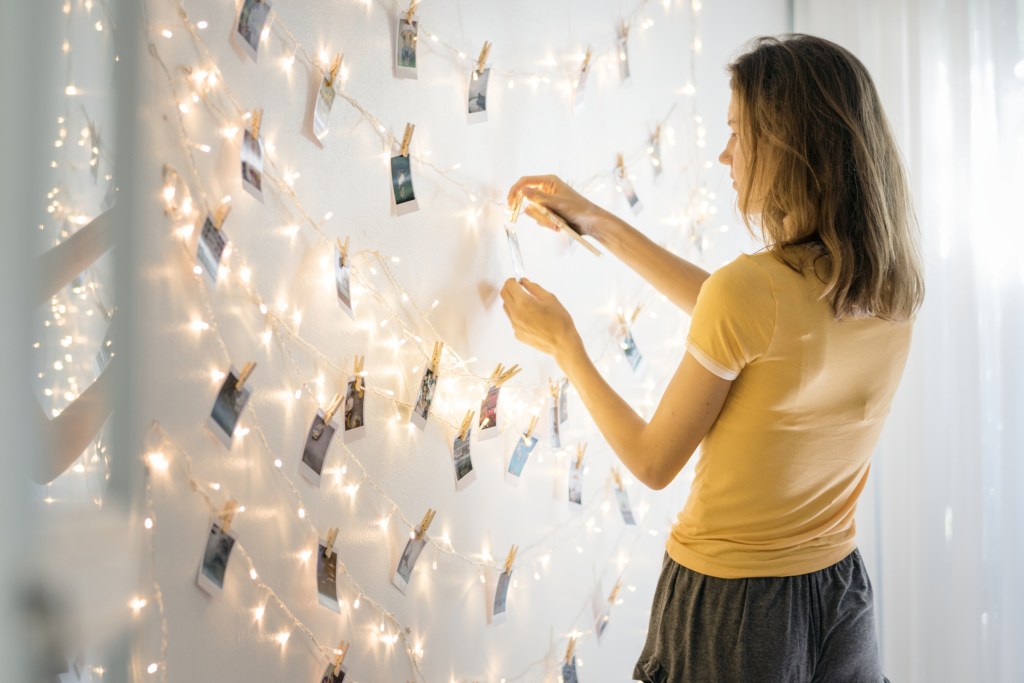
Step 5: Hang them in layers on the wall to display assorted photographs, postcards, or whatever you wish.

Spruce up a bay window
Using fairy lights to style and illuminate a bay window is a simple yet enchanting way to transform the space. Drape the lights around the window frame or weave them through sheer curtains to create a cozy, magical glow. The soft, twinkling light adds warmth and highlights the architectural beauty of the bay window, making it a perfect focal point in any room.

Make a fairy light chandelier
Creating a chandelier with fairy lights is a delightful and simple DIY project that adds a touch of whimsy to any space.
Step 1: To start, gather your materials: a wire wreath frame, fairy lights, thin wire, and some decorative elements like beads or crystals.
Step 2: Begin by securing the fairy lights to the wreath frame, wrapping them around evenly. Use thin wire to fasten the lights securely in place.
Step 3: Be creative with the arrangement, making sure to leave a long strand for hanging. Incorporate beads or crystals between the lights for added sparkle.
Step 4: Once complete, hang your enchanting fairy light chandelier and bask in the magical ambiance it creates.
How to hang fairy lights without nails
Since most of us prefer not to leave nail holes in the wall when it’s unnecessary, and fairy lights are normally quite lightweight, there are several ways to illuminate your home with these glimmering lights without using nails. Let’s take a peek at a few:
- Command strips adjustables: These are ideal for stringing lights indoors. Get these for when you may need to readjust them a couple of times.
- Other damage-free adhesive hooks: You can also use these hooks if you have different types of cords with your lights.
- Suction cup hooks: These also work for hanging lights on walls without leaving damage.
- Blue tack: This is like a thick, tacky substance similar to silly putty that holds things in place without causing damage. This should work for smaller fairy lights. It has numerous other uses and is reusable to boot!
Step 1: When you’re ready to hang your lights, untangle them, and then stretch them out to see how many you have, how far they reach, and whether any are broken or not working.
Step 2: If the spacing between lights is too wide for your tastes, there are ways to shorten them up, such as winding them around any extra hooks you hang between the ones you use, or hiding the extra by winding behind fixtures along the way.
Step 3: Be sure to measure it all once you stretch everything out.
Step 4: Then, measure out where you need to hang your hooks on the wall in order for everything to be spaced as you wish.
Step 5: Make sure it’s all even, and — voila! Now it’s time to hang your lights.
Step 6: Select one of the nail-free methods we discussed above and follow the product instructions for hanging.
Now that you’ve got some ideas, you can decide where to hang your lights, what kind you’ll most likely purchase, as well as which types of adhesives you’ll use. We’ve seen some great deals going on at Target, Walmart, Amazon, Best Buy, Wayfair, and other places, and the best time to shop for them is, of course, in the off-season, if you see them. We also found some at Dollar General for a steal of a price and they lasted several holidays, so you may want to check there, too, if you hope to save a buck.


