A full kitchen remodel isn’t always necessary, and for some homeowners, it isn’t a feasible solution for elevating their kitchen design. Thankfully, there is another option. Cabinet refacing can be a great choice for homeowners aching for a kitchen refresh without the need to break the bank by replacing all the kitchen cabinets.
But what is cabinet refacing? Does this DIY project save money on kitchen redesign? Here’s everything you need to know.
Cabinet refacing vs. a full remodel

You might wonder, “What is kitchen cabinet refacing, and how is it different from a full cabinet remodel?”
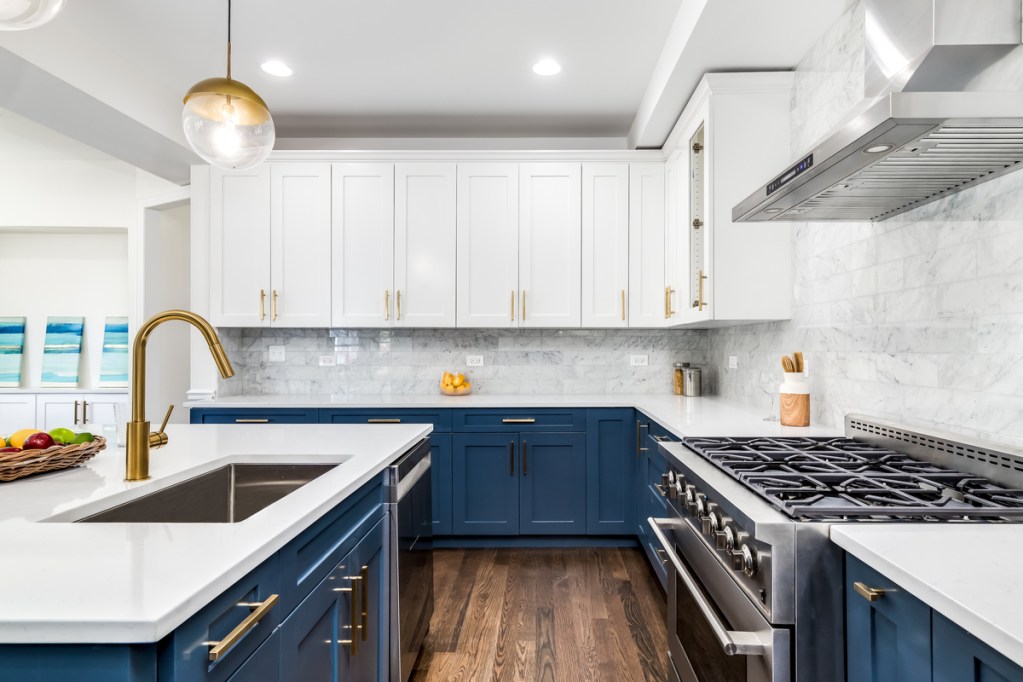
Cabinet refacing uses your existing cabinet boxes and layout, refreshing them with new veneers or a coat of paint and replacing the pre-existing cabinet doors and drawer fronts. By keeping the existing layout and cabinet “skeleton,” many homeowners can save time and money as they redesign their kitchen.
While a full cabinet remodel may require a complete gutting of the kitchen and a brand-new design layout, cabinet refacing can spruce up the look of your space without additional labor or expenses.
How to know if your cabinets can be refaced
Not all cabinets can be refaced, and depending on the condition of your existing cabinetry, refacing may not be the best option.
Here is what you should look for before cabinet refacing:
- Ensure internal wood supports and frames are in good shape. They are sturdy with minimal to no signs of damage.
- Make sure all cabinet boxes are in good shape, sturdy, and level.
- Double-check drawer tracks and internal hardware. While a couple of loose tracks can be tightened or replaced, too many issues may suggest deeper underlying problems with the cabinetry.
- During the redesigning process, you’ll need to set aside a week or two for DIY cabinet refacing and additional storage for food or dishware.
If you find any water damage, warped wood, broken tracks, or other issues with your existing cabinets, you may need to consider a full cabinet remodel vs. cabinet refacing.
How to reface your cabinets

DIYing your kitchen cabinet refacing will take some time and a little know-how, but many homeowners might find this process to be much more straightforward than a complete remodel. Here’s how you can reface your cabinets yourself.
Gather your materials
First, you’ll want to gather your materials. Before you begin, you also need to decide how you plan to reface your cabinets. If you plan to add wood veneers, you’ll need a veneer kit. Alternatively, if you choose to repaint or stain your cabinets, you’ll need the proper tools to complete the job.
What you’ll need:
- Screwdrivers
- Sandpaper
- Paint, wood stain, or cabinet refacing veneer kit
- Paint tools (optional, depending on your choice above)
- Cabinet hardware
- New doors and drawer fronts
- Hinges for the new cabinet doors
- Any accessories (cabinet lighting, crown molding, etc.)
Remove the doors, drawers, and hardware
To start your project, remove all cabinet doors, drawers, and hardware.
Reface the cabinet body and sides
Next, sand down the cabinet body, boxes, and sides to prep the surface for refacing. Depending on the cabinet doors and drawer fronts you choose, you may need to paint, stain, or veneer those as well.
Once sanded, you can begin refacing. If you choose to add veneers to your cabinets, follow the instructions on your cabinet refacing veneer kit. If you opt for paint or wood stain, be sure to read the labels properly before beginning that process.
Attach new hinges
Allow your veneers to settle or your paint or stain to cure and dry completely before you attach new hinges. You can also replace broken drawer tracks, if necessary.
Install your new doors and drawer fronts
Once your hinges are installed, attach your new doors and drawer fronts to the cabinet boxes.
Install new hardware
When all of your cabinet doors and drawer fronts are attached, you can install your new hardware, knobs, or handles.
Add any additional accessories
The last step of cabinet refacing is adding any extra accessories like cabinet lighting or crown molding.
How much does cabinet refacing cost?

Cabinet refacing can be more affordable than a full remodel. However, depending on the scope of your project, whether you hire a professional, and if you run into any issues like mold or rotting wood, the cost might be comparable to a full cabinet remodel.
According to Forbes, DIY cabinet refacing typically costs roughly $36 per square foot. However, the cost can fluctuate depending on your situation.
Is cabinet refacing right for you?
Before you begin refacing your kitchen cabinets, you should weigh the pros and cons to decide if it’s right for you.
Pros
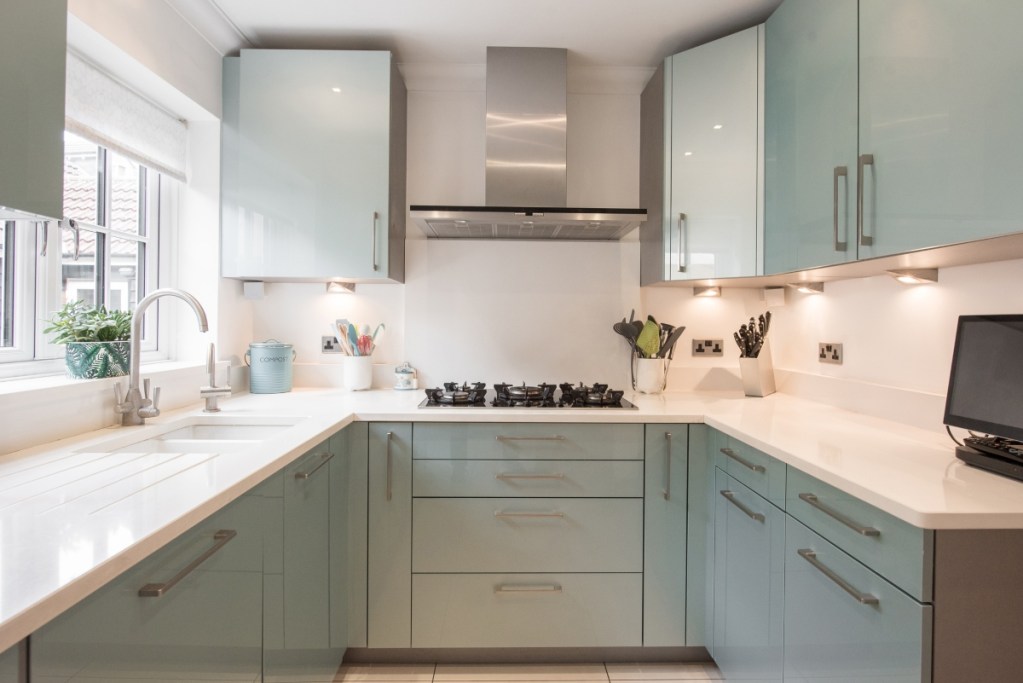
- Keeps the existing kitchen layout. This is great for homeowners who enjoy their current layout or aren’t interested in committing to a full remodel.
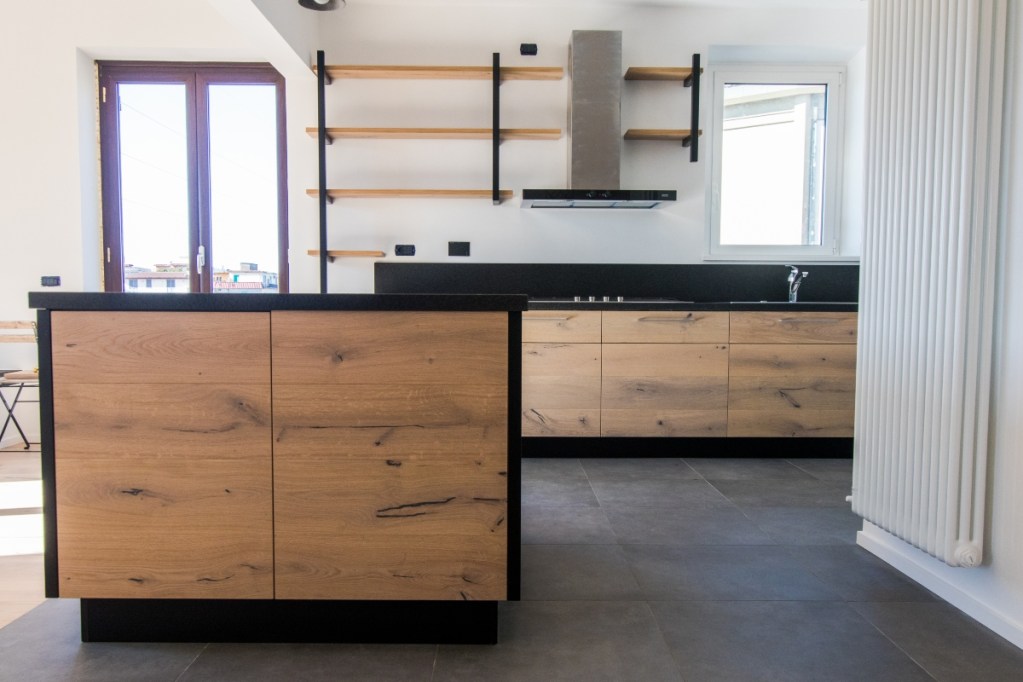
- You can stain, paint, or add veneers based on personal preference.
- DIYing your cabinet refacing can save you money.
- It’s more eco-friendly to update your existing cabinets rather than replace them if they are in good condition.
Cons
- You won’t be able to change the kitchen layout much. If you plan to remodel your kitchen layout later, cabinet refacing may not be worth it in the long term.
- Since you aren’t replacing the existing cabinet boxes, the internal layout, like shelves and storage solutions, will remain the same.
- DIYing your cabinet refacing can require some skill and know-how. While this project isn’t complex, it can be challenging for some homeowners.
- If you decide to hire a professional to reface your cabinets, it won’t be much cheaper than a full remodel. Additionally, your costs may add up if you run into problems during refacing, such as rotting internal structures.
Cabinet refacing is a great way to uplift and refresh your kitchen design without tackling a full remodel. While the cost of the project can be comparable to a full renovation, depending on your situation, many homeowners value keeping their existing cabinets and kitchen layout.