Cast iron pans stand the test of time if taken care of properly. Thanks to their sturdy build and hardy material, cast iron skillets and pans can last generations. However, cast iron pans’ greatest issue is the ease at which these pans tend to rust. To prevent rust build-up on your cast iron pan, you need to make sure you’re following the proper cleaning procedures. If done correctly, you’ll have a pan that lasts lifetimes.

How to use cast iron pans in your kitchen
Cast iron pans are a multifaceted tool for any kitchen. They can be used on nearly any heat source: induction or gas stovetop, portable burner, or oven. These pans are versatile and withstanding, making them perfect for curating any number of delicious dishes.
One of the best things about cast iron is its ability to retain and distribute heat efficiently. Additionally, you can use metal tools on a cast iron pan as there is no chemical coating that could be damaged.
So, what's the best way to clean a cast iron pan? There are several ways to clean cast iron without damaging its surface. Below are some of the most common cleaning methods.
How to clean a cast iron pan with hot water
The easiest and most common way to clean a cast iron pan is by using hot water. The hot water loosens the food build-up and allows you to pour out any debris that floats to the top.
Step 1: After a meal, fill your skillet with water and boil it on the stovetop. This works well for pans with a rim.
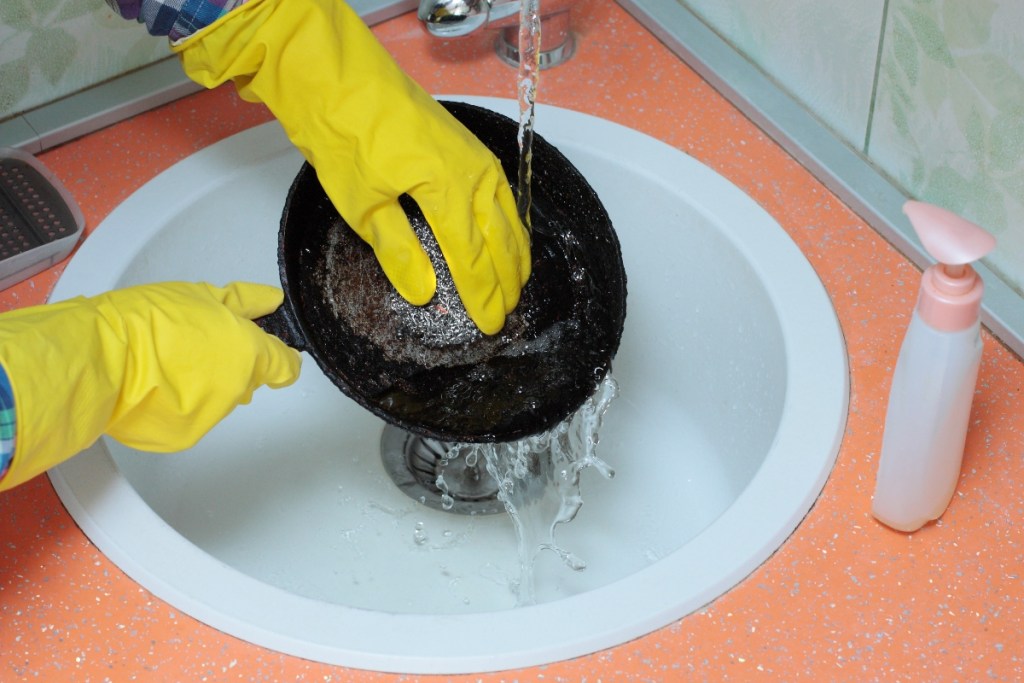
Step 2: If yours doesn’t have a rim, you can opt to run your pan under hot water in your sink.
Step 3: You can also use steel wool or a plastic spatula to scrape off any hard-to-remove food grime.
Step 4: Once finished, wipe down your pan before preparing it to dry.
How to clean a cast iron pan with salt and water
Professional chefs worldwide use this technique to remove food grime without reducing their cast iron pans’ seasoning.
Step 1: Generously apply kosher salt to your pan after it has partially cooled (it should feel warm to the touch, but not scalding).
Step 2: After you apply the salt, add about a 1/4 cup of warm water.
Step 3: Use a sponge to scrub the pan and rinse under hot water to remove debris.
Step 4: You may need to repeat the process a few times before the pan is completely clean.
How to clean a cast iron pan with soap and water
Over time, the idea that you should never use soap on your cast iron has been passed down through the generations. While it’s not ideal to use soap on your cast iron pan after every use, it isn’t harmful to your pan if you find yourself struggling to rid your pan of debris.
Step 1: Add a small amount of gentle dish soap and hot water to your cast iron pan.
Step 2: Using your sponge or scrubber, scrub the pan in light, circular motions to remove debris.
Step 3: Rinse with hot water when done, and be sure to remove all soap residue.
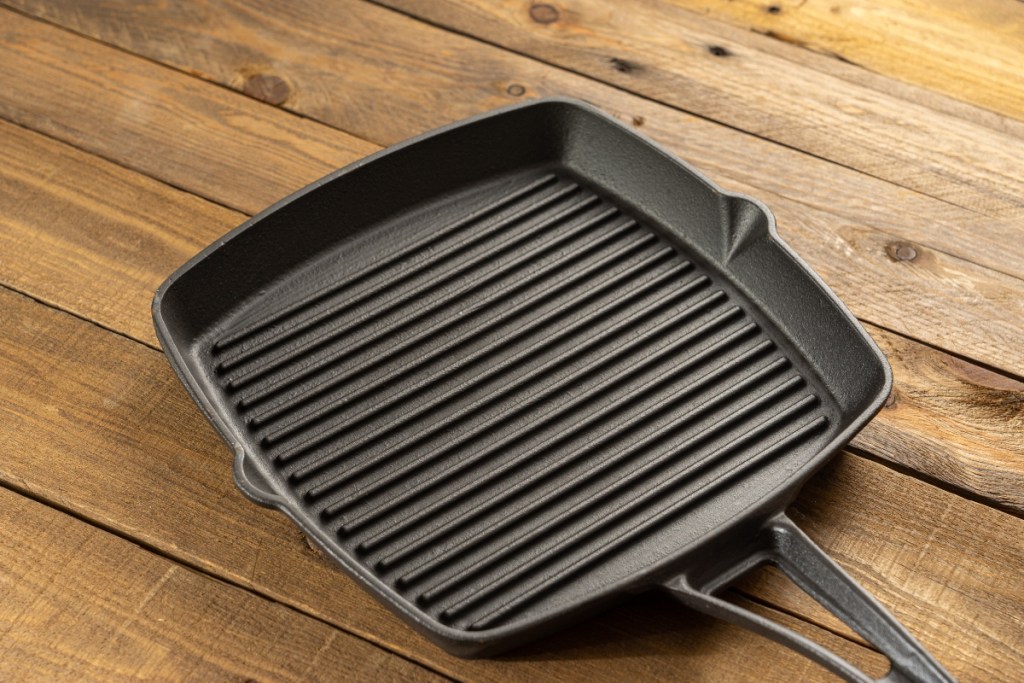
How to clean cast iron pan grates
When cleaning the grates of a cast iron pan, it’s important to deter from using abrasive cleaning brushes or sponges. Steel wool is the best scrubber for this dish, but several non-abrasive sponges work just as well.
Step 1: It’s recommended that you line your sink with towels when cleaning your cast iron pan to prevent scratching on the pan’s bottom and sides.
Step 2: Rub steel wool over food debris and resist the urge to press down harder to remove grime. Pressing too hard can cause scratching, which will open doors to rusting.
Step 3: When cleaning a cast iron pan, it’s important to take your time.

The proper procedure for drying a cast iron pan
Since cast iron is highly susceptible to rust, it’s important to remember the following:
- Never let the pan drip dry.
- Never leave water sitting in the pan.
- Never store the pan with a lid (if it comes with one) sitting on top.
All of these actions can cause moisture to seep into the cast iron and can cause rusting. The best way to dry your cast iron is to ensure that all water is evaporated before storing it.
Step 1: Once your pan is clean, place it on top of your stove or in your oven and turn up the heat. When using the oven, set the temperature to 350 degrees.
Step 2: Keep the pan on the heat until all of the water is evaporated. On average, the drying process can take up to an hour.
Step 3: Remove your pan from the oven and allow it to cool for a few minutes before seasoning.
Why you need to re-season your cast iron
Seasoning a cast iron pan is a crucial part of ensuring its longevity. Seasoning your cast iron helps to create a non-stick element when cooking. Since there is no additional coating with cast iron, it’s important to reseason your pan now and again when you notice foods are beginning to stick. Seasoning your pan will also make cleaning it less stressful and more effective as the natural oils coating the pan will allow you to remove food residue with greater ease.
How to re-season your cast iron
You can use shortening or the oil of your choice to season the pan, which will create a smooth surface for cooking.
Step 1: Use a paper towel and spread the oil or shortening evenly over all parts of the pan, including the sides, bottom, and handle.
Step 2: Lay the pan upside down on a baking sheet lined with foil. The foil will catch any excess oil.
Step 3: Place in the oven at a minimum of 400 degrees.
Step 4: Let the pan sit in the oven for an hour to allow the oil to stick to the metal to create a nice coating.
Step 5: After an hour, turn the oven off and let the pan cool entirely from inside the oven. Never run the pan under cold water when the metal is hot as this will cause warping.
Taking care of your cast iron pan is vital for maintaining its flavor and longevity. The process may seem long and tedious to new cast iron pan owners, but much of your time is spent waiting for your pan to go through its natural processes. These pans transcend lifetimes and provide opportunities for many delicious meals down the road. If you follow these steps, you’ll have a pan that you can pass on to the following generations so they might enjoy the same meals you hold dear to you.


