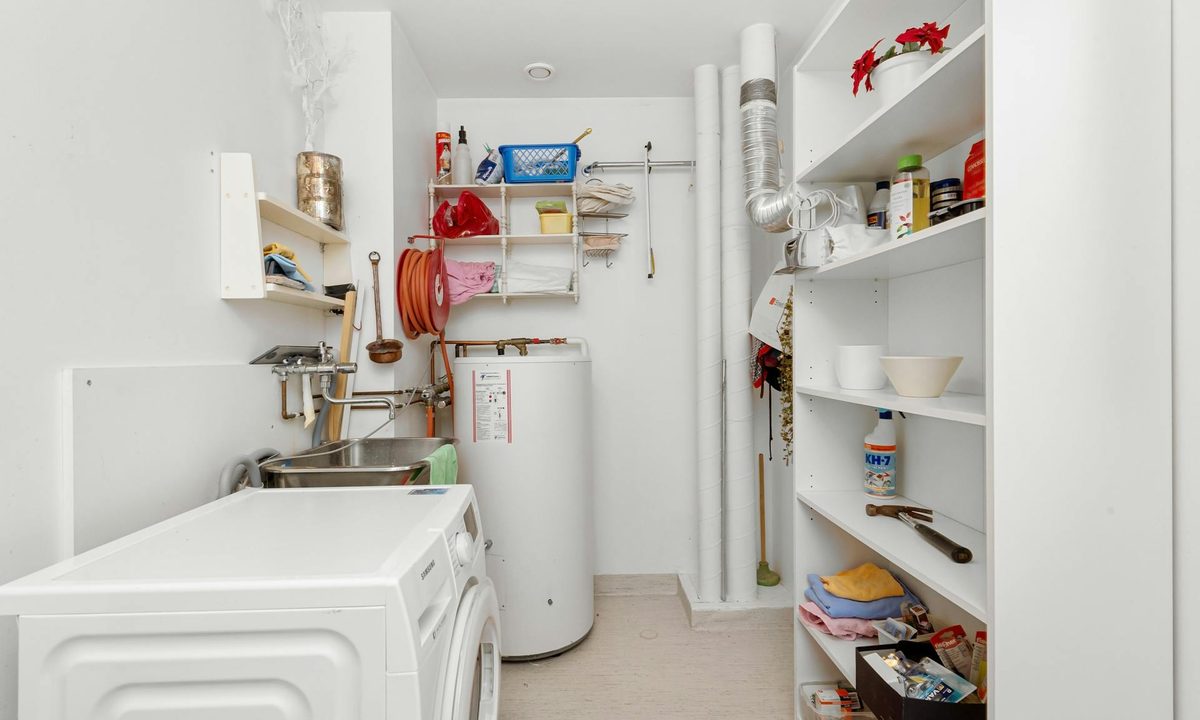
A water heater is one of those appliances you probably don’t think about until it stops working. Flushing it regularly, however, should be a key part of your home maintenance routine to ensure it runs smoothly and lasts for years to come. Learning how to flush a water heater might seem intimidating at first, but with the right tools and steps, it’s a task you can tackle yourself.
Let’s flush out why this home maintenance task matters, how to know when it’s time, and step-by-step instructions for doing it on your own.
Why do water heaters need flushing?

Over time, minerals like calcium and magnesium from hard water accumulate inside your water heater’s tank, creating sediment buildup. This sediment not only reduces the heater’s efficiency but also forces it to work harder, which can lead to higher energy bills and even damage the appliance. Flushing the tank removes this buildup, improving the heater’s performance and extending its lifespan.
If sediment isn’t cleared, it can clog the water lines, reduce the amount of hot water available, and even cause strange noises like popping or rumbling. Regular flushing prevents these issues and ensures your water heater operates at its best.
How do I know if my water heater needs to be flushed?
Not sure if it’s time to flush your water heater? Look out for these signs:
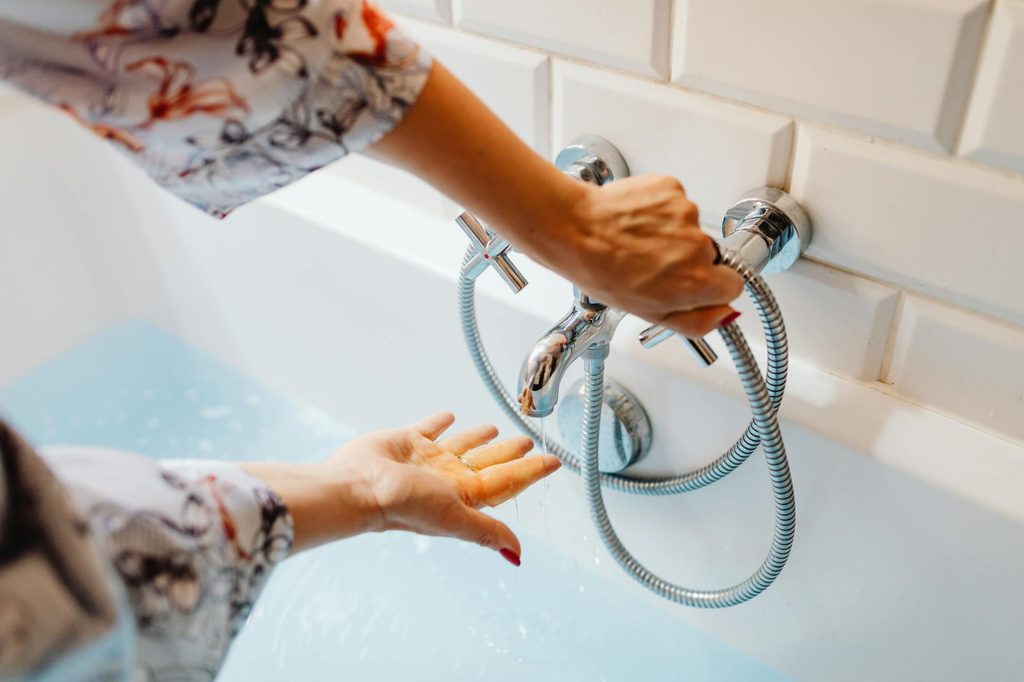
- Reduced hot water supply: If your showers are turning cold faster than usual, sediment might be reducing the tank’s capacity.
- Cloudy or rusty water: Sediment or rust can mix with your water, making it appear discolored or giving it an odd taste.
- Unusual noises: A popping or rumbling sound is often caused by sediment heating up and moving around inside the tank.
- Foul smells: A rotten egg smell when hot water is in use often indicates the presence of bacteria in sediment.
- Increased energy bills: A less efficient water heater will use more energy to heat the same amount of water, which can show up in your monthly bills.
If you notice any of these issues, it’s time to flush your water heater.
How to flush a water heater yourself
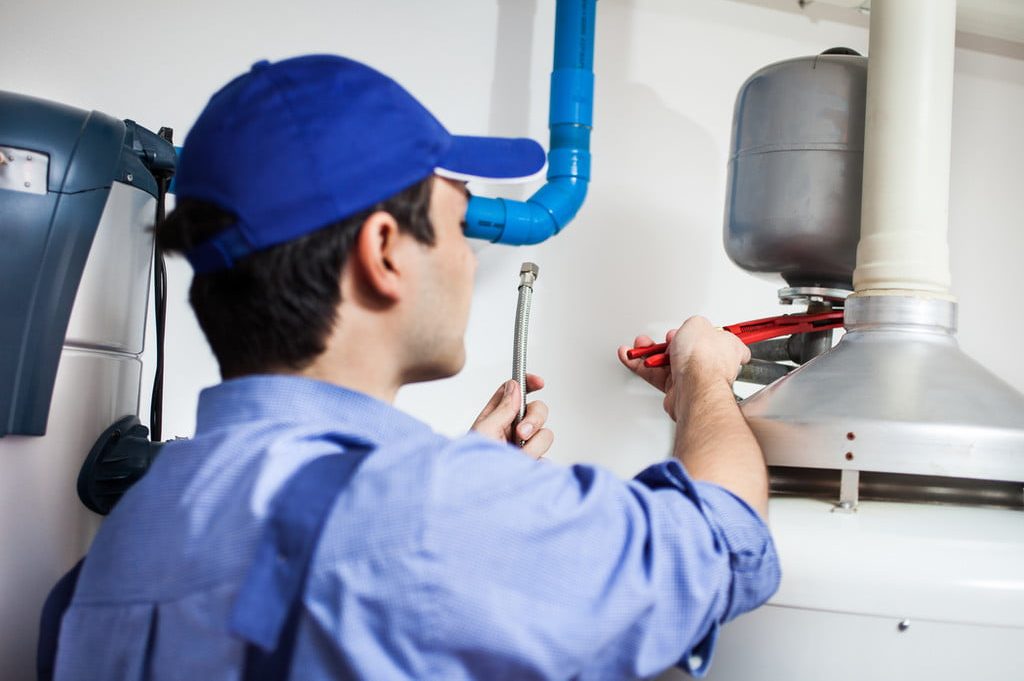
Flushing your water heater isn’t as complicated as it sounds. While you can always hire a professional, doing it yourself is a cost-effective option that gives you a better understanding of your home’s plumbing system. Below, we’ll walk you through the steps to safely flush your water heater.
1. Turn off your power source
Before you begin, turn off the power source to your water heater to ensure safety.
- For electric water heaters: Locate the circuit breaker panel and switch off the breaker labeled for your water heater.
- For gas water heaters: Turn the thermostat to the “pilot” setting or turn off the gas supply valve entirely.
This step is crucial to avoid any risk of burns or electrical shock during the process.
2. Drain hot water and refill with cold
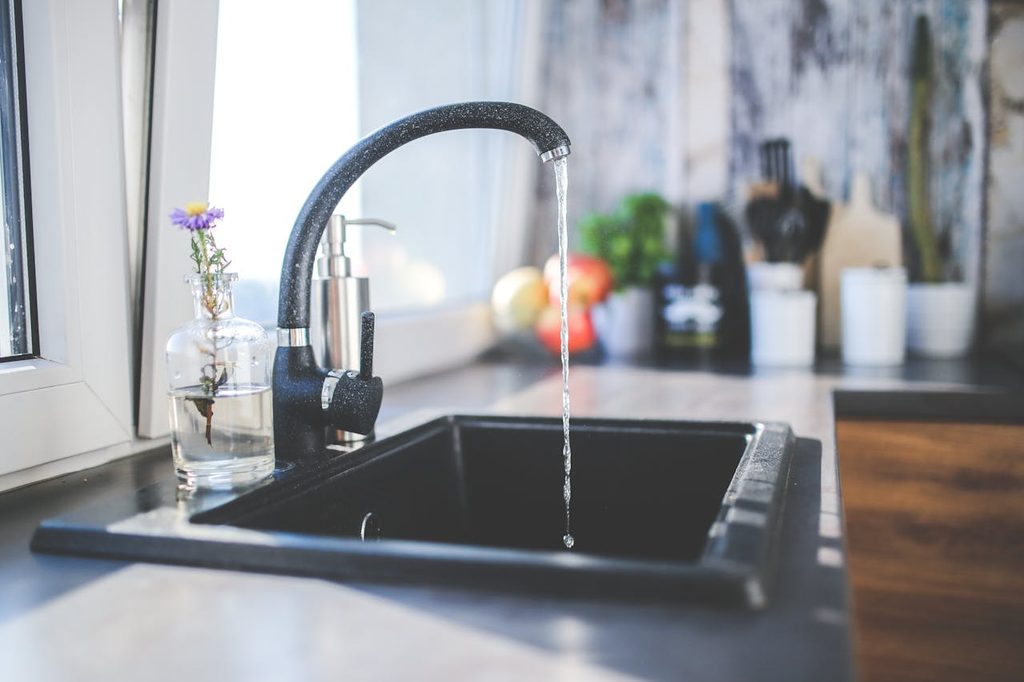
Run hot water from a faucet nearest to your water heater for about two minutes to reduce the tank’s temperature. This also releases some pressure inside the system. Once the water is cool enough, close the faucet and get ready to drain the tank.
3. Close off the water supply
Locate the cold water supply valve at the top of your water heater and turn it off. This prevents additional water from entering the tank during the flushing process.
4. Connect a garden hose to the drain valve
Attach a standard garden hose to the drain valve near the bottom of the water heater. Make sure the other end of the hose leads to a safe drainage area, such as a floor drain or outside. Once the hose is securely in place, open the drain valve to allow water and sediment to flow out.
5. Repeat until the water is clear
After the tank has emptied, turn on the cold water supply for a few seconds to rinse out remaining sediment. Let the water drain out again. Repeat this process until the water running through the hose is clear and free of debris.
6. Disconnect the hose and reset
When the water is clear, follow these steps to wrap up:
- Close the drain valve and carefully remove the hose.
- Turn the cold water supply back on to refill the tank.
- For gas water heaters, relight the pilot light or switch the thermostat back to its normal setting. For electric models, turn the breaker back on.
- Finally, run hot water from a faucet for a few minutes to ensure everything is functioning properly.
How often should you flush your water heater?
The frequency of flushing your water heater depends on the type of water in your home and how much you use it. As a general rule:
- Hard water homes: Flush your water heater every six months to prevent excessive sediment buildup.
- Soft water homes: Once a year is usually sufficient for maintaining efficiency.
- High usage: If you use a lot of hot water daily, you may need to flush more frequently, regardless of water type.
Regular maintenance keeps your water heater running efficiently and prevents repairs or costly water heater replacements down the line.
Learning how to flush a water heater is an essential skill for any homeowner. Regular maintenance not only improves your water heater’s efficiency but also saves you money on energy bills and prolongs the life of the appliance. Whether you’re dealing with hard water or simply want to keep things running smoothly, following these steps ensures your water heater stays in top condition. So grab a garden hose, set aside some time, and give your water heater the care it deserves.