If you’ve ever wondered how to clean stainless steel pans, you’re not alone. These kitchen workhorses are beloved by many cooking enthusiasts, but keeping them in pristine condition requires a bit of know-how. This is especially true when dealing with stubborn food residue or stains. That’s why we’re going to walk you through the best practices for cleaning and maintaining your stainless steel cookware, ensuring it remains as shiny and effective as the day you bought it.
A good friend to any home chef
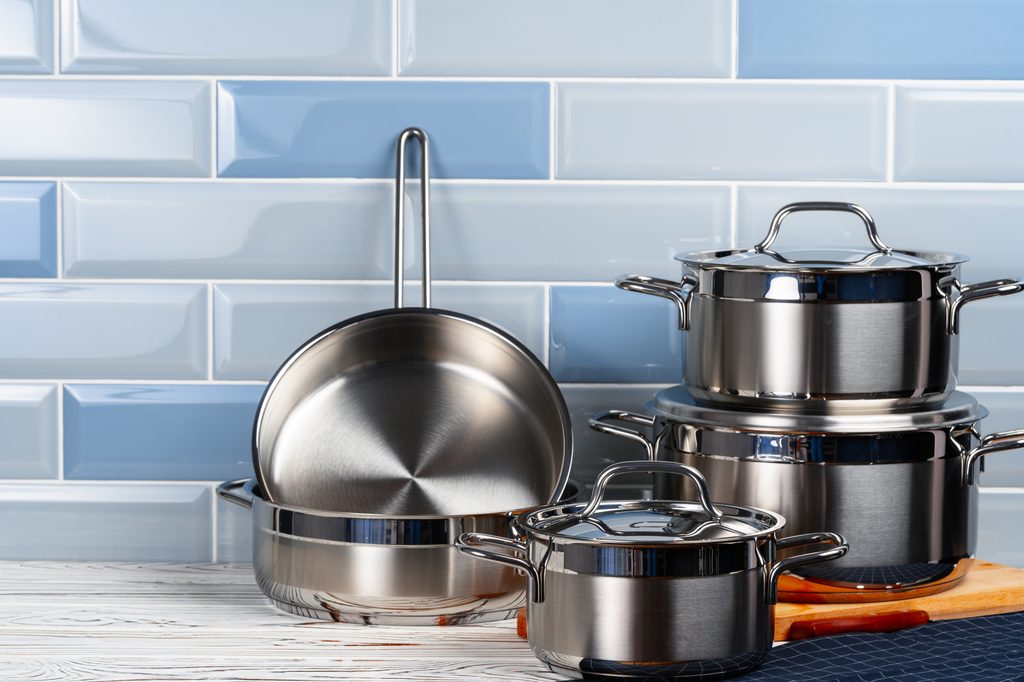
Stainless steel pans have earned their place in kitchens worldwide, and for good reason. These pans are incredibly versatile, capable of handling high heat for searing meats and also simmering delicate sauces with equal finesse.
However, this doesn’t mean these pans are completely trouble-free tools. They can easily develop stains, especially if food burns onto the surface. Fortunately, with the right cleaning techniques, you can keep your stainless steel pans looking brand new.
Everyday cleaning for stainless steel pans
Keeping your stainless steel pans clean on a daily basis is straightforward, but it does require a bit of attention to detail. After each use, it’s essential to clean your pan as soon as it cools down to prevent food residue from hardening on the surface.
- Rinse the pan with warm water to remove any loose food particles.
- Apply a small amount of dish soap to a nonabrasive sponge or cloth and gently scrub the surface of the pan.
- Clean the inside and outside of the pan, as grease and food can accumulate on the bottom and sides.
- For stuck-on food, fill the pan with warm soapy water and let it soak for about 15 to 20 minutes before removing the debris with your sponge or cloth.
- Once the pan is clean, rinse it thoroughly with warm water and dry it immediately to prevent water spots.
How to clean stainless steel pans with burnt-on food
Burnt-on food is one of the most challenging issues when it comes to cleaning stainless steel pans. However, with a few extra steps, you can restore your pan to its original shine.
Soak the pan
Start by filling the pan with hot water and adding a few drops of dish soap. Let the pan soak for at least 30 minutes or longer, if the food is particularly stubborn. This will help loosen the burnt food, making it easier to clean.
Boil water in the pan
If soaking alone doesn’t do the trick, try boiling water in the pan. Fill the pan with enough water to cover the burnt areas and bring it to a boil on the stovetop. The heat and steam will help further loosen the food particles. After boiling for a few minutes, turn off the heat and let the water cool before attempting to scrub the pan again.
Use a baking soda paste
For particularly stubborn stains, you can make a cleaning paste using baking soda and a small amount of water. Apply the paste to the burnt areas and let it sit for a few minutes. Then, use a nonabrasive sponge or cloth to scrub the pan in a circular motion. The mild abrasiveness of the baking soda should help lift the burnt food without scratching the pan’s surface.
Rinse and dry
Once you’ve removed all the burnt food, rinse the pan thoroughly with warm water to remove any residue. Dry the pan immediately with a soft towel to prevent water spots and restore its shine.
What not to do when cleaning stainless steel pans
When cleaning stainless steel pans:
- Avoid using abrasive cleaners or steel wool, as these can scratch the surface.
- Do not use bleach or harsh chemicals, which can damage the finish.
- Refrain from leaving the pan soaking for too long, as prolonged exposure to water can lead to pitting or discoloration.
- Never put a hot pan into cold water, as the sudden temperature change can cause warping.
Preventing stains on your stainless steel cookware
While it’s essential to know how to clean stainless steel pans, it’s equally important to prevent stains from forming in the first place. Here are some tips to help you maintain your cookware.
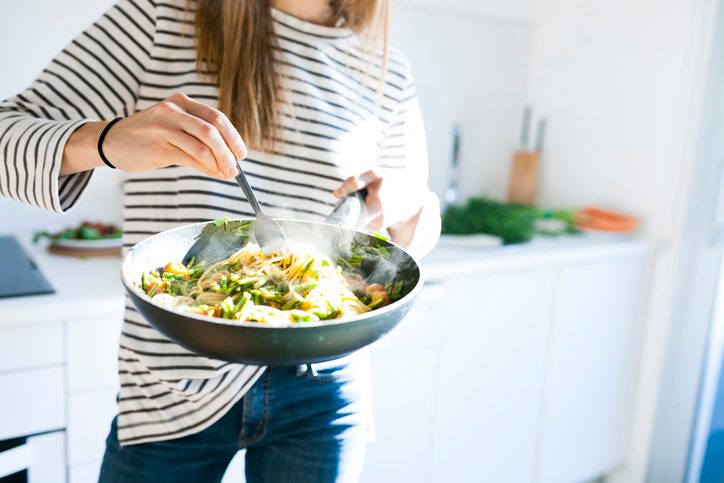
- Use the right cooking techniques: Avoid cooking on high heat unless it’s necessary for searing. High heat can cause food to burn quickly and stick to the pan, leading to stubborn stains. Instead, preheat your pan over medium heat before adding oil or food.
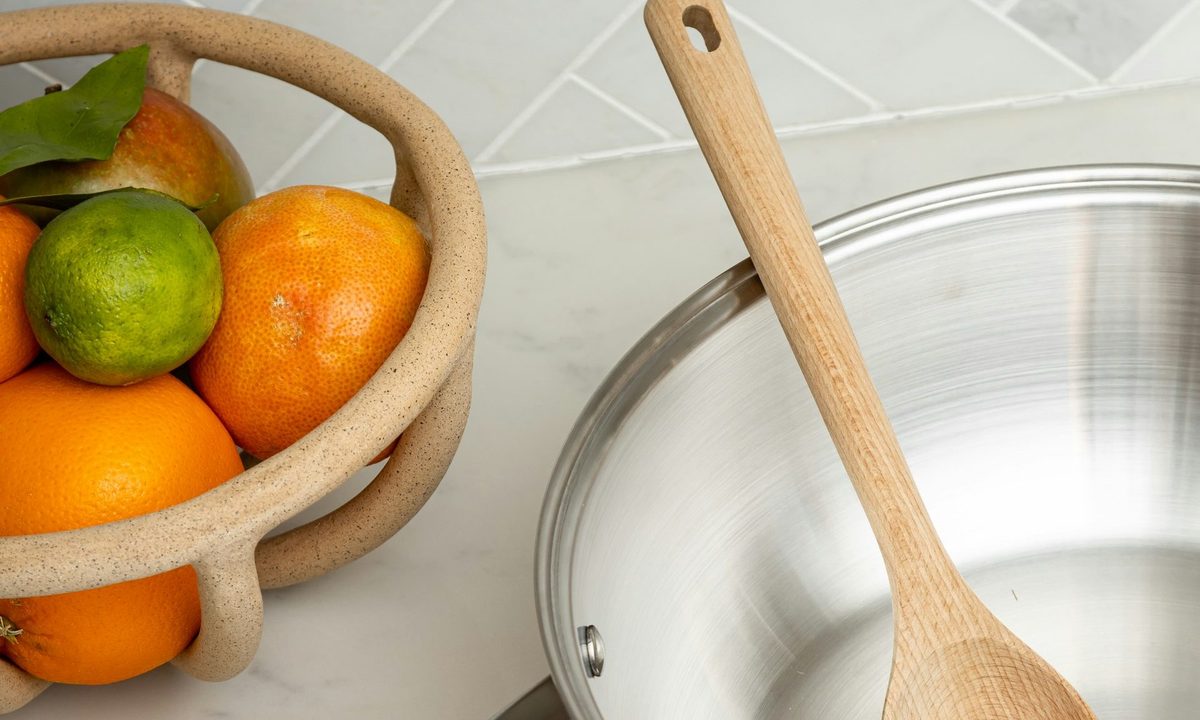
- Avoid using metal utensils: Although stainless steel is durable, metal utensils can still cause scratches over time. Opt for wooden, silicone, or plastic utensils to prevent damage to the surface of your pans.
- Clean your pans promptly: The longer food residue sits on your pan, the harder it will be to remove. Always clean your pans as soon as they cool down to avoid stubborn stains.
- Store your pans properly: To prevent scratches and other damage, avoid stacking your stainless steel pans directly on top of each other. If you need to stack them, place a soft cloth or paper towel between each pan to protect the surface.
- Polish your pans occasionally: Over time, stainless steel pans can develop a dull appearance due to regular use. To keep them looking shiny and new, consider using a stainless steel cleaner or polish every few months. Apply the cleaner according to the manufacturer’s instructions and buff the pan with a soft cloth to restore its luster.
Knowing how to clean stainless steel pans is essential for maintaining their performance and appearance. With daily care, effective cleaning methods for burnt-on food, and a few preventative measures, you can keep your stainless steel cookware looking and performing like new for years to come. Whether you’re a seasoned home chef or just starting out, these tips will help you ensure your pans remain a valuable part of your kitchen arsenal.


