How to get rid of that hideous water stain on the ceiling and beautify your home

Try this quick stain removal method before jumping into major ceiling repair

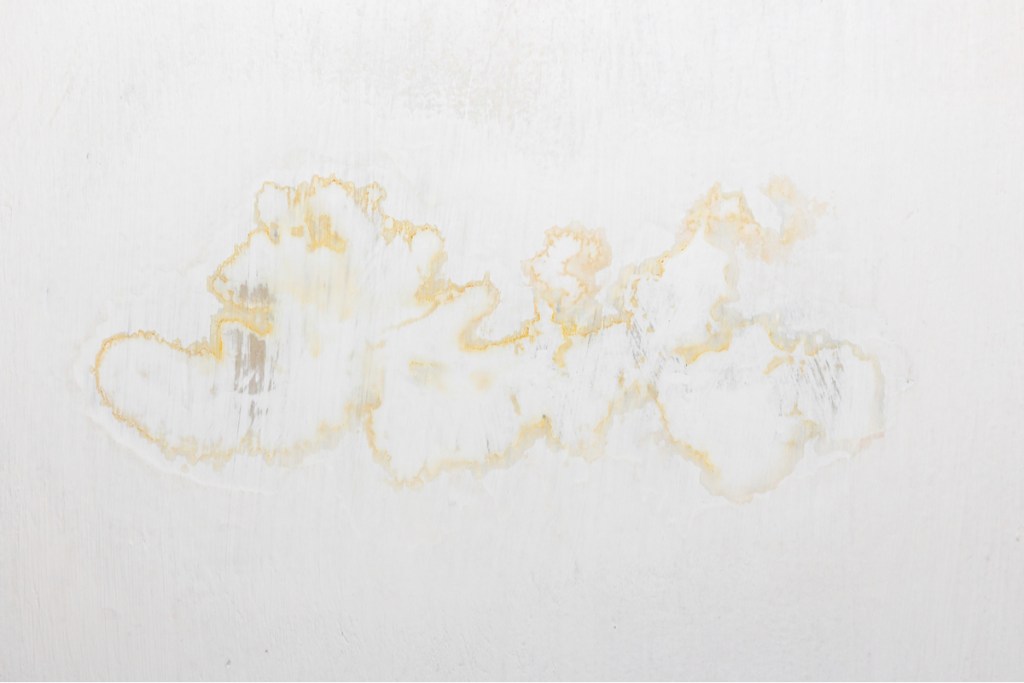
Water stain on the ceiling
Akintevs / Shutterstock

When you’ve worked hard to keep your home clean and you've decorated your space perfectly, plumbing leaks or flooding can be frustrating. Not only does water destroy drywall, but it also leaves behind nasty stains on your ceiling, creating an eyesore in your otherwise pristine room.

The good news is that you may not have to replace the drywall or take on a huge painting project to get rid of that water stain on the ceiling. Try this easy stain removal method instead and clean up your space without breaking the bank.
Recommended Videos

Difficulty

Easy

Duration

1 hour

What You Need

  • Misting spray bottle

  • Bleach

  • Water

  • Furniture/wall coverings

Water stain on the ceiling
Akintevs / Shutterstock

Is a water stain on the ceiling serious?

While the seriousness of a water stain depends on the underlying cause, it's generally a good idea to investigate and address it promptly. Water stains on the ceiling can be caused by various issues, all of which could get worse if left alone. Ignoring the stain or delaying repairs could lead to further damage, such as mold growth, structural deterioration, or additional water leaks.
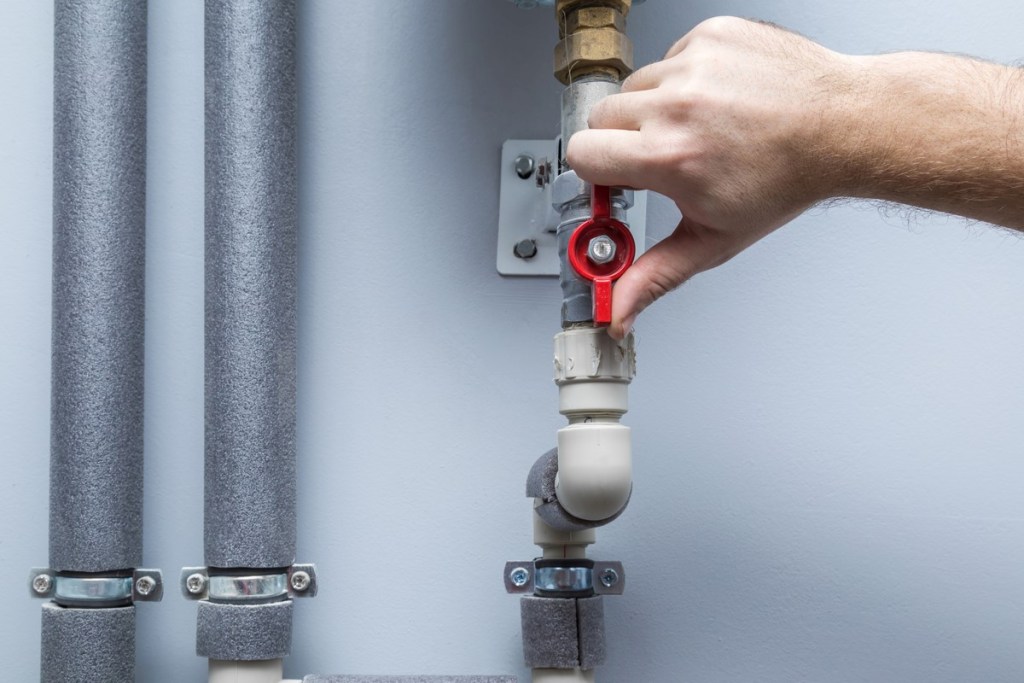
Hand turning valve on a pipe
FotoDuets / Shutterstock

Why are there water stains on my ceiling?

Stains can emerge due to flood damage, leaks from frozen pipes, or another source of moisture. The first step in removing this eyesore is to locate the source of the water and repair it. Otherwise, trying to repair the surface without fixing the underlying condition will leave you fixing the spot over and over again.

Once the leak is identified and remedied, you can move on to eliminating the stain.

Woman in striped shirt painting ceiling with extended roller
New Africa / Shutterstock

Can you just paint over water damage?

Painting over a water stain can address the problem, but it only works after the source of the moisture is addressed. However, this method will cost more time and money than other more efficient strategies.

If you don’t have the exact paint to the match ceiling, it will be difficult to find something that fits the precise color and texture of the pre-existing paint. You’d likely have to paint the entire ceiling again to achieve a seamless finish.

Woman cleaning while holding a spray bottle
VGstockstudio / Shutterstock

How do I get water stains off my ceiling?

Want to remove those water stains without spending too much time and money? All you need is bleach, water, and a spray bottle. However, bleach is a powerful chemical that can damage your belongings as well as your skin and lungs. Before mixing and spraying the bleach solution, take some precautions.

Step 1: Cover furniture and wall art in the room and wear clothes you’re OK with getting bleach on. Also wear protective gloves and a mask if needed.

Step 2: Fill a misting spray bottle with 1 part bleach and 2 parts tap water.

Step 3: Spray a light mist of the solution onto the stain and let it sit for about a minute.

Step 4: Spray the stain again and then let the whole treatment sit for up to 24 hours.

Step 5: If the stain is still visible after the waiting period, repeat the treatment for multiple days until the stain is gone.

Step 6: After cleaning, let the room air out for 24 hours before lounging in the space.

White ceiling with gray walls and white trim
jantsarik / Shutterstock

Will you have to paint after bleaching a water stain?

If your ceiling is white, there’s a good chance you won’t have to repaint it after treating the stain with bleach. If, however, your ceiling is off-white, cream, or any other color, the bleach will lighten the paint in that area. If that’s the case, see if you have any matching paint you can use to cover the lightened area. Otherwise, you may need to repaint the entire ceiling.
Person with putty knife patching drywall
onajourney / Shutterstock

When should you avoid using bleach to eliminate a water stain on the ceiling?

While the bleach method is effective at removing water stains, there are instances in which bleach will further the damage. If the moisture has caused the paint to peel or the drywall to crumble, the chemical may corrode the materials further. In these instances, you’ll likely need to repair the drywall and repaint it.

handyman with a yellow tool belt
smspsy / Shutterstock

How much does it cost to fix water stains on the ceiling?

If you prefer not to tackle water stains on your ceiling yourself, hiring a professional is a wise choice. Typically, a painter, water damage restoration specialist, or even a handyman can address this issue effectively. The cost varies depending on the severity of the damage and your location, but expect to pay between $100 and $500 per stain.

These types of professionals will:

  • Assess the cause of the stain
  • Repair any underlying issues like leaks
  • Patch and repaint the affected area
  • Apply a primer to prevent future stains

While it might seem costly, investing in professional expertise ensures a thorough and lasting solution.

When your living space is renovated and decorated to your heart’s content, water damage can throw a big wrench in your plans for rest and relaxation. Aside from any costs related to repairing the moisture leak, you’re also left with ugly stains that distract from an otherwise beautiful home. Before completing a full renovation of your wall or ceiling, try this quick and easy method to save your ceiling as well as your time and money.

Veronica Sparks
Veronica Sparks is a writer from Milwaukee, Wisconsin who loves writing about gardening, home décor, and DIY life. She’s…
How to eliminate that musty ‘basement’ smell
Mold and mildew are big basement problems, but they can be solved
Finished basement with wood paneling

Do you avoid spending time in your basement because of its unpleasant odors? Whether it's finished or not, basements are typically cool, damp, and have little airflow going through them, which are all factors that contribute to its musty smell. Unfortunately, it takes more than general cleaning practices and air fresheners to rid the space of mustiness for good. Take a look at some of these tried-and-true methods for how to get rid of musty smell in basement spaces, so you can keep it smelling light, airy, and fresh.
1. Find the culprit of the musty smell

If you smell that common musty stench, the culprit is often mold or mildew. Since basements tend to be damp and have little airflow, they are common hot spots for mold and mildew growth. The first step in preventing further growth by sealing any leaky spots and inefficient drains.
Leaking windows and doors
Check your basement's exterior doors and windows for signs of moisture. Since leaks on the first floor can often drain into the basement, check the windows and doors on the main floor as well. If you find moisture around these entry points from rain or condensation, re-seal the area or call a professional to repair it.
Leaking pipes
Whether pipes are visible in your basement or not, you need to check them regularly for leaks. Examine any water and sewage pipes for signs of leaks and repair any cracks or poor seals. If plumber's tape or epoxy putty can't repair the leak, it's time to call a professional.
Dried-up drains
Basement floor drains direct water out of the home to keep the floors dry and prevent them from flooding. The stagnant water in this drain also traps bad odors emanating from the sewage system below. However, these drains can dry up from infrequent use, releasing stench into the air. If you notice smells arising near your floor drains, just pour a few cups of water into the drain to block the gases from escaping.
2. Clean up the basement

Read more
How to paint your kitchen cabinets in 9 simple steps
A simple and low-cost way to refresh your space
Man holding paint rolling after painting kitchen cabinets

Kitchen renovation is one of the most impactful and cost-effective home remodel projects, with returns on investment of about 87 percent. While it’s no wonder that kitchen remodels are popular, but they’re also very expensive — cabinetry alone runs $5,000 to $6,000 on average. If money is tight, or your kitchen only needs a minor update, painting the cabinetry, rather than replacing it, will save you thousands of dollars while giving the room a completely new look. Plus, you can do it yourself in a couple of days.
Tools and supplies you'll need for the job

Rosin paper
Painter’s tape
Plastic sheeting
Screwdriver 
Household cleanser or trisodium phosphate commercial degreaser
Abrasive pad
Liquid deglosser
Wood filler
Putty knife
100-grit sandpaper
220-grit sandpaper 
Tack cloth 
Latex caulk 
Paint scraper
Primer paint
Trim or enamel paint with a durable, high-sheen finish
4- or 6-inch roller, with foam cover
3- or 4-inch square brush
2 ½- or 3-inch angle brush

Read more
Sanded vs. unsanded grout: How to know which one to use
Make sure you use the right materials for your tile project
Hand applying grout to glass tile.

Choosing the right grout for your tiling project can significantly impact both the aesthetic and durability of your work. The debate of sanded vs. unsanded grout is a common one among DIY regrouting enthusiasts and professionals alike. That's why we are going to explore the differences between these two types of grout, discuss the best applications for each, and provide tips on care and cost considerations.
Sanded vs. unsanded grout: What's the difference?

Sanded grout is composed of a cement-based mix that includes sand particles. The addition of sand helps make the grout more durable and less prone to shrinking, since the sand particles in the grout provide additional strength, making it less likely to crack over time.

Read more