Painting a bathroom is different than other rooms in your home, primarily because the nature of the environment itself presents its own unique challenges. Along with the kitchen, it is arguably one of the most-used rooms in the home. The biggest issue to think about when selecting paint is the humidity and dampness present. Here, we run through the steps to get the best results and ensure it will stand up to its environment.
Selecting the right kind
Think you can use any old paint in a bathroom? Think again. Most rooms in your home are painted with an eggshell or flat finish. The problem — these are not made to hold up to moisture. Any continued wetness will penetrate the surface and make its way into the drywall underneath. This can lead to water damage and potential mold growth — two things you want to avoid.
Years ago, the solution was to use a semigloss or high-gloss finish. Although it did not prevent mold, it offered an easier surface to clean than a flat-finished paint. This solved one issue, but designwise a shiny surface on all the walls is not very forgiving and will make flaws stand out. Luckily today, there are paints specifically designed for the bathroom such as Benjamin Moore’s Aura. This paint offers antimicrobial properties that resist mildew and has a flat, matte finish. You may be able to shop bargain paints to cover some rooms, but the bathroom is not one of them. This is a place where it is worth spending extra to get a higher-quality product. Although slightly pricier, it can handle the high humidity. More durable, these paints can also take a scrub or wipe down when needed.
How to pick the right hue
The best way to pick a paint color is to ask yourself how you want the space to feel. Are you looking for a tranquil spa vibe? Maybe you want to make a statement? Let’s explore some of the most popular choices:
White, cream, or gray:
- Gives a fresh, light look
- Provides a neutral backdrop
- Reflects light and makes space feel open
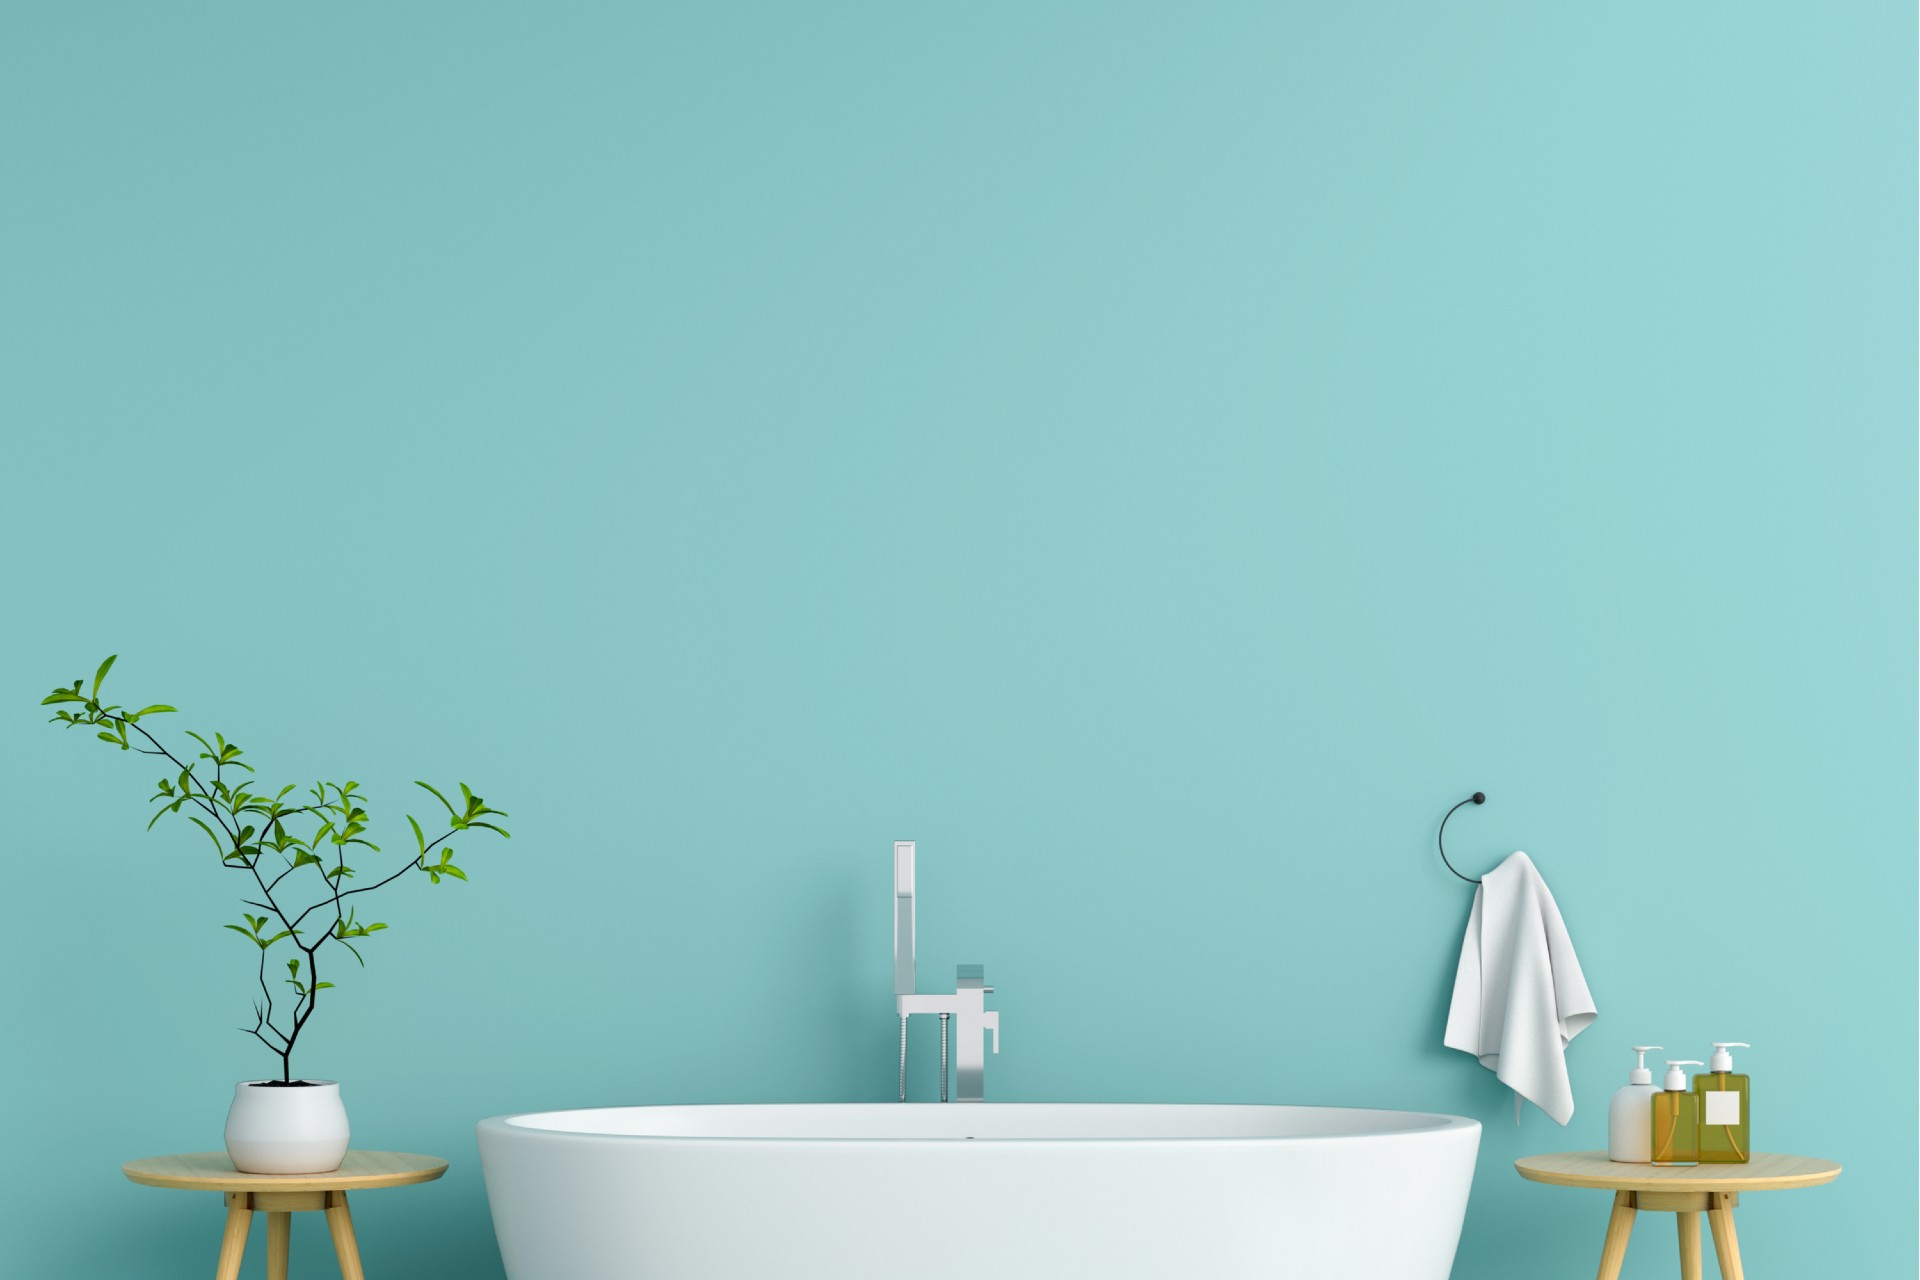
Light blue:
- Plays well with white accents
- Adds a sense of calm
Tan or taupe:
- Great neutral backdrop
- Allows white trim to pop
Bold blue or green:
- Makes a statement
- Brings drama to a small space
No matter which color you select, it is imperative that before you commit you see what it looks like in your space. Colors can read very differently depending on the amount of sunlight and lighting you have in the space. Get a small sample of paint and cover a small section of the wall. Make sure to look at it throughout the day.
Time to paint
The first step in painting the bathroom is cleaning the walls thoroughly. Any mildew must be removed. This can be done by using a mixture of one part bleach to three parts water. Soap scum can also interfere with paint adhering, so make sure to scrub it away. Fill any old nail holes with putty and sand to smooth. Remove light and outlet plates. Tape off any trim including doorways, floor, windows, and tile. Cover all surfaces not being painted with drop cloths or sheeting.
Start with a primer
While you may be able to get away with no primer in other places in your home, it is highly recommended that one is used in the bathroom. One of the biggest issues in bathrooms is peeling. This often occurs when moisture finds its way between the paint and its surface. The best way to prevent this is to use a moisture-resistant primer, such as Kilz Kitchen & Bath Primer, before painting with a mildew-resistant paint. This extra step will ensure a long-lasting finish that holds up to the conditions.
Ensuring the best results
Use a brush to paint along the trim and in tight areas and a roller for larger spots. Ideally, it is best to allow the paint to dry for several days before taking a hot shower. The longer you can wait and the more fresh air ventilation the space gets, the better the results will be in the long run.
For more, check out our satin vs. sheen comparison, it can help you choose the right type of paint for your bathroom.

